When I first got into welding, there were so many terms and techniques to learn that it felt overwhelming. One term that kept popping up was “stringer bead.” At first, I didn’t quite understand what made it different from other welding techniques, but once I started practicing, I realized just how important it is in the world of welding.
Stringer bead welding is a fundamental skill that every welder should master. It’s precise, straightforward, and can make all the difference in certain applications. In this article, I’ll share everything I’ve learned about stringer beads, from what they are to how you can use them effectively in your projects.

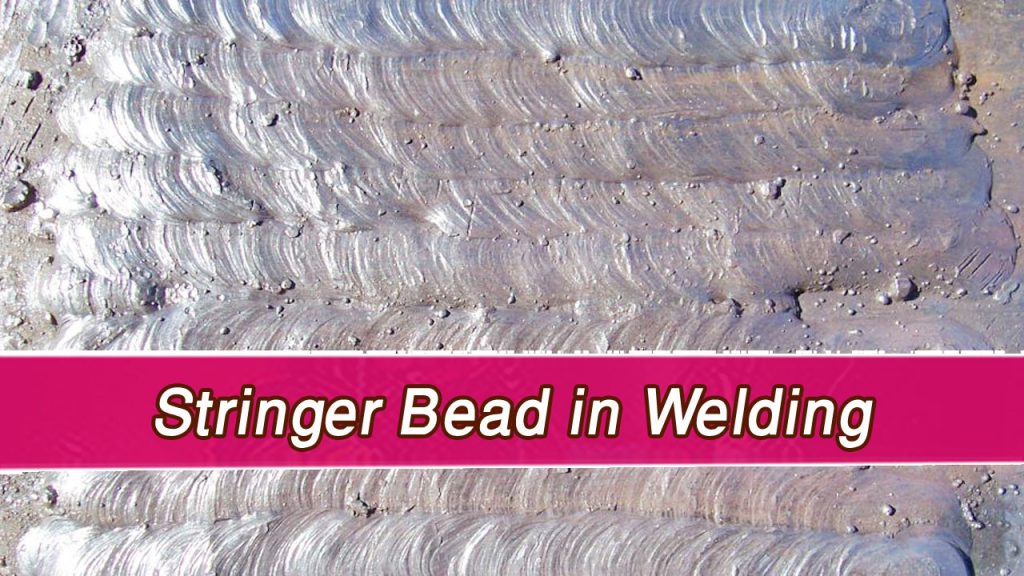
Image by iforgeiron
Stringer Bead in Welding
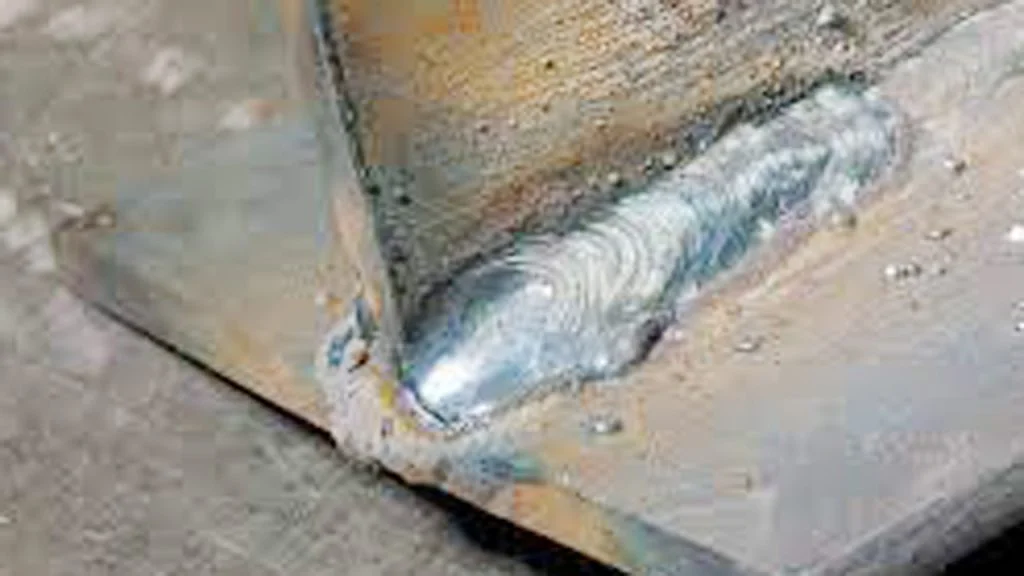
A stringer bead is essentially a straight, narrow weld bead made in a single pass without much side-to-side motion. Unlike other welding techniques that involve weaving or oscillating, stringer beads focus on precision and depth.
When you think of a stringer bead, imagine drawing a straight line with a pen—it’s clean, focused, and doesn’t stray too far from the path. This simplicity is one of the reasons why stringer beads are so popular, especially in applications where accuracy and deep penetration are key.
Characteristics of a Stringer Bead
Let’s break down what makes a stringer bead unique:
- Narrow Profile: Stringer beads are slim and straight, which helps in creating precise welds.
- Single Pass: The electrode moves in a straight line without much deviation, ensuring consistency.
- Deep Penetration: This technique is excellent for achieving good weld depth, which is crucial in many structural applications.
- Faster Speed: Since there’s no weaving motion involved, the process is relatively quick.
If you’re looking for a method that delivers clean, strong welds in a short amount of time, stringer beads are an excellent choice.
Applications of Stringer Bead Welding
Stringer bead welding is used across various industries and projects, and I’ve personally found it handy in multiple scenarios. Some of the most common applications include:
Pipe Welding
Pipe welding often demands precision and consistency, and stringer beads are perfect for achieving that. The narrow bead ensures strong, leak-proof joints, making it a go-to technique for pipelines and similar structures.
Structural Welds
In construction or heavy-duty applications, stringer beads provide the deep penetration needed to create solid, reliable joints.
Vertical and Overhead Welding
One of the biggest challenges in welding is working in awkward positions, like vertical or overhead joints. Stringer beads make it easier to maintain control and reduce spatter in these tricky scenarios.
Small or Tight Weld Joints
Whenever you’re working with small weld joints or in tight spaces, stringer beads are ideal because they don’t require large side-to-side movements.
How to Perform Stringer Bead Welding
When I first started practicing stringer beads, it took some time to get the hang of it. But with patience and the right technique, it became second nature. Here’s a step-by-step guide to help you get started:
Step 1: Prepare Your Workspace
Make sure your materials are clean and free of any debris, rust, or grease. Proper preparation is key to achieving a strong weld.
Step 2: Select the Right Electrode
Choosing the right electrode for the job is crucial. For example, 6010 and 7018 electrodes are commonly used for stringer bead welding because they offer excellent penetration and strength.
Step 3: Set the Correct Parameters
Adjust your welder’s settings to match the electrode type and material thickness. Proper amperage and voltage settings ensure consistent results.
Step 4: Maintain a Straight Line
Hold the electrode or torch at a steady angle (usually around 10-15 degrees from vertical) and move in a straight line. Avoid any side-to-side motion to keep the bead narrow and focused.
Step 5: Watch the Weld Pool
Keep an eye on the weld pool to ensure proper fusion and penetration. A consistent weld pool is a sign that you’re on the right track.
Step 6: Practice, Practice, Practice
Like any welding technique, mastering the stringer bead takes practice. Start with scrap materials and focus on maintaining a steady hand and consistent speed.
Advantages of Stringer Bead Welding
As someone who has worked on a variety of welding projects, I can confidently say that stringer bead welding offers several advantages:
- Precision: The straight-line motion ensures clean and accurate welds.
- Efficiency: The process is faster compared to weaving techniques.
- Deep Penetration: Perfect for applications requiring strong, secure joints.
- Versatility: Can be used in different positions, including vertical and overhead.
Challenges and How to Overcome Them
Every welding technique comes with its own set of challenges, and stringer beads are no exception. Here are some common issues I’ve faced and how you can avoid them:
Undercutting
Undercutting occurs when the edges of the weld bead are too thin, which can weaken the joint. To avoid this, maintain the correct travel speed and electrode angle.
Incomplete Fusion
If the weld doesn’t properly fuse with the base metal, it can lead to weak joints. Use the right heat settings and keep a steady hand to ensure complete fusion.
Overheating
Applying too much heat can cause warping or burn-through, especially on thinner materials. Adjust your amperage and travel speed to prevent this.
Tips for Mastering Stringer Bead Welding
Over the years, I’ve picked up a few tips that have helped me improve my stringer bead technique:
- Keep Your Motion Steady: A steady hand is essential for creating consistent welds.
- Use Proper Lighting: Good visibility makes it easier to track your progress and maintain accuracy.
- Practice Different Positions: Stringer bead welding is versatile, so practice in flat, vertical, and overhead positions to build confidence.
Stringer Bead vs Weave Bead: What’s the Difference?
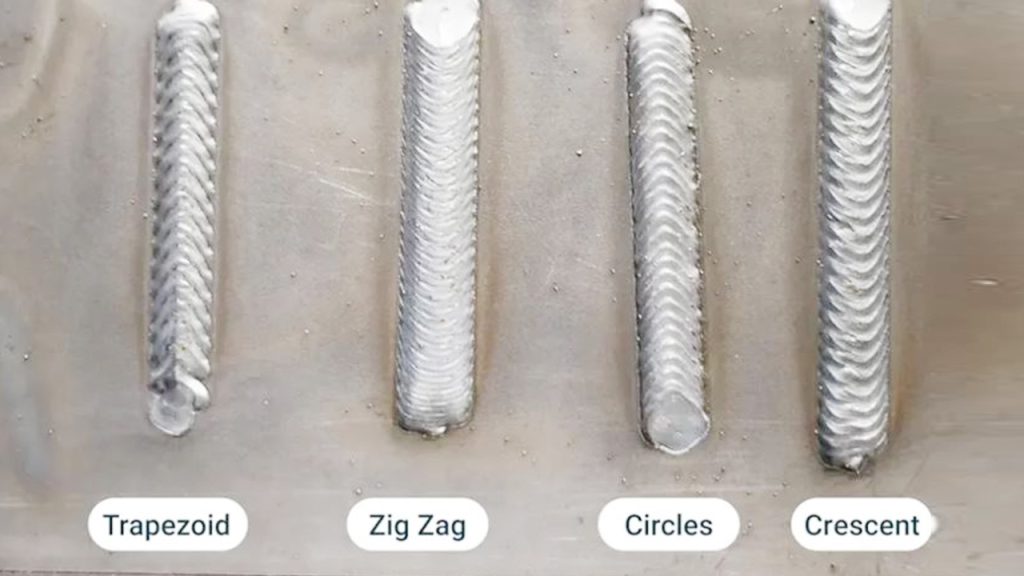
Many welders, myself included, often compare stringer beads to weave beads because they’re both commonly used techniques. The main difference lies in the motion and application.
- Stringer Beads: Straight-line motion, narrow bead, deep penetration.
- Weave Beads: Side-to-side motion, wider bead, more coverage.
Both techniques have their place, and choosing the right one depends on your project requirements.
Conclusion
Stringer bead welding might seem simple at first glance, but it’s a technique that requires precision and practice to master. Whether you’re working on pipelines, structural projects, or welding in tight spaces, stringer beads offer the strength and accuracy needed for a variety of applications.
As I’ve learned through experience, the key to success is understanding the fundamentals and putting in the practice to perfect your skills. So grab your welding gear, set up your workspace, and start experimenting with stringer beads. You’ll be amazed at how versatile and effective this technique can be.
FAQs
What is a stringer bead in welding?
A stringer bead is a narrow, straight weld bead created in a single pass without much side-to-side motion.
When should I use stringer bead welding?
Stringer beads are ideal for pipe welding, structural projects, and tight weld joints requiring precision and deep penetration.
How do I avoid undercutting in stringer bead welding?
Maintain the correct travel speed and electrode angle to prevent undercutting.
Can stringer beads be used in all welding positions?
Yes, stringer beads are versatile and can be used in flat, vertical, overhead, and horizontal positions.
What are the best electrodes for stringer bead welding?
010 and 7018 electrodes are commonly used for their penetration and strength.

Endow Russel the owner chief editor of giftendow.com . I am a mechanical engineer and assign to an local firm with much experience in welding and industrial equipment.

