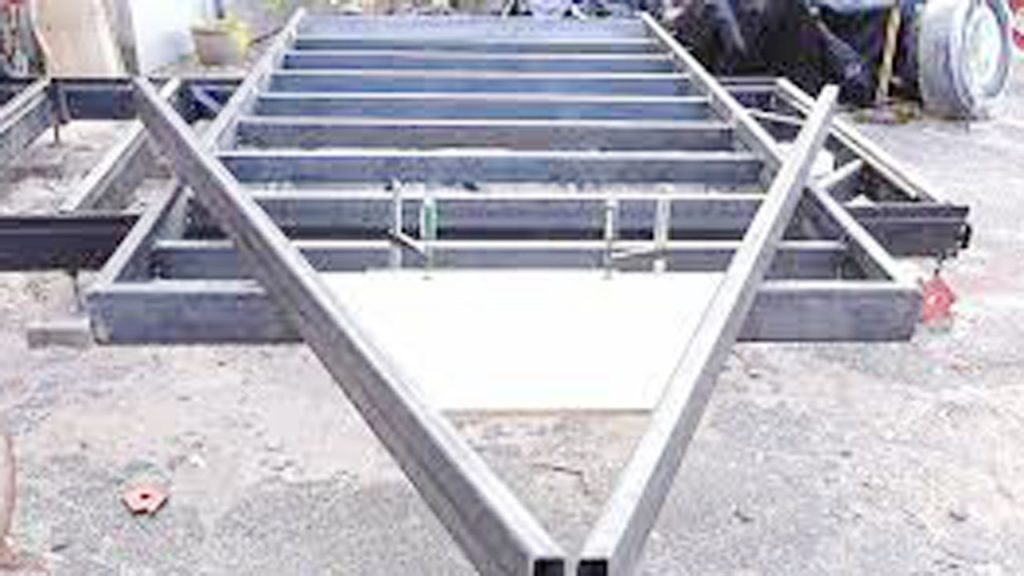
If you’re anything like me, you’ve probably thought about building your own utility trailer at some point. Whether you want one for hauling garden tools, lumber, or your weekend camping gear, having a utility trailer can make life so much easier. But if the thought of welding intimidates you or you simply don’t have access to welding tools, don’t worry! You can absolutely build a sturdy and functional utility trailer without welding.
I’ll walk you through the process step-by-step. By the end, you’ll have all the knowledge you need to build a reliable trailer, no welding required. Let’s get started!

Image by mattcremona
Why Build a Utility Trailer Without Welding?
There are several reasons why you might want to skip welding when building your trailer:
- No Specialized Tools Needed: Welding requires specific equipment and skills. By avoiding it, you save time and money.
- Accessibility: Not everyone has access to a welding machine or knows how to weld.
- Ease of Assembly: Building without welding often involves bolting or using pre-fabricated parts, which can be more straightforward.
- Portability: A bolt-together trailer can often be disassembled and reassembled if needed, making it more versatile.
Materials and Tools You’ll Need
Before we dive into the steps, let’s gather the materials and tools. Here’s what you’ll need to get started:
Materials
- Trailer Frame Kit: Pre-fabricated trailer frame kits are widely available and are perfect for a no-weld project.
- Angle Iron or Steel Tubing: Used to reinforce the frame if you’re building from scratch.
- Bolts, Nuts, and Washers: High-strength bolts are crucial for holding the frame together.
- Plywood or Metal Sheets: For the trailer bed.
- Axle Kit: Includes the axle, hubs, and wheels.
- Tires: Choose tires rated for the weight you plan to haul.
- Leaf Springs: These help with suspension.
- Lighting Kit: Includes tail lights, turn signals, and wiring.
- Coupler and Hitch: To attach the trailer to your vehicle.
Tools
- Wrenches and Sockets
- Drill and Drill Bits
- Screwdrivers
- Measuring Tape
- Clamps
- Saw (for cutting wood or metal)
- Safety Gear (gloves, safety glasses, etc.)
Step-by-Step Guide to Building Your Utility Trailer
Now that you have everything you need, let’s build your utility trailer without welding.
Step 1: Design Your Trailer
The first step is to plan your trailer’s design. Think about the size and weight capacity you need. Sketch a rough layout of the frame, axle placement, and trailer bed.
Key Tips:
- A standard utility trailer is usually 4×8 feet, but you can adjust based on your needs.
- Make sure your design complies with local regulations.
Step 2: Assemble the Frame
If you’re using a pre-fabricated frame kit, follow the manufacturer’s instructions to bolt it together. If you’re building from scratch, cut your angle iron or steel tubing to size and bolt the pieces together to form a rectangular frame.
Important Note: Use clamps to hold the pieces in place while you drill holes for the bolts. This ensures a tight fit and proper alignment.
Step 3: Attach the Axle and Suspension
Next, you’ll attach the axle and suspension system. Most axle kits come with clear instructions for installation. Use U-bolts to secure the axle to the leaf springs and bolt the leaf springs to the frame.
Tips for Success:
- Measure carefully to ensure the axle is centered.
- Tighten all bolts securely to prevent wobbling.
Step 4: Build the Trailer Bed
For the bed, you can use plywood, metal sheets, or a combination of both. Cut the material to fit the frame and secure it using bolts or screws. If you’re using wood, consider treating it with weatherproof paint or sealant to extend its lifespan.
Step 5: Install the Coupler and Hitch
The coupler is what allows your trailer to attach to your vehicle’s hitch. Bolt the coupler to the front of the frame and double-check that it’s tightly secured.
Safety Tip: Test the coupler on your vehicle’s hitch before moving on to ensure a snug fit.
Step 6: Add the Wheels and Tires
Mount the wheels onto the axle hubs and tighten the lug nuts. Make sure the tires are properly inflated according to the manufacturer’s specifications.
Step 7: Install the Lighting System
A lighting kit is essential for road safety. Attach the tail lights and turn signals to the rear of the trailer and run the wiring along the frame. Most kits plug directly into your vehicle’s electrical system.
Step 8: Add Safety Features
Finally, consider adding safety features like:
- Side reflectors
- Safety chains to connect the trailer to your vehicle
- A spare tire mount
Pros and Cons of Building a Trailer Without Welding
| Pros | Cons |
|---|---|
| No specialized tools required | Bolted connections can loosen |
| Easier for beginners | May not be as durable as welded |
| More accessible and affordable | Limited customization options |
| Can be disassembled if needed |
Tips for a Successful Build
- Double-Check Measurements: Precision is key to ensuring your trailer is safe and functional.
- Use High-Quality Materials: Don’t skimp on bolts, nuts, or other critical components.
- Test Before Use: Once your trailer is complete, test it with a light load before hauling heavier items.
- Regular Maintenance: Periodically check bolts, tires, and the lighting system to ensure everything is in good condition.
Conclusion
Building a utility trailer without welding might seem like a challenge, but with the right materials and a bit of patience, it’s absolutely doable. Not only will you save money, but you’ll also have the satisfaction of creating something functional with your own hands.
By following this guide, you’ll have a sturdy and reliable utility trailer ready for all your hauling needs. Just remember to prioritize safety and check your local regulations to ensure your trailer meets all legal requirements.
FAQs
Can I build a utility trailer without any prior experience?
Yes, as long as you follow a detailed guide like this one and use pre-fabricated parts, you can build a trailer without prior experience.
What is the cost of building a utility trailer without welding?
The cost varies but typically ranges from $300 to $1,000, depending on the materials and components you choose.
Is a bolted trailer as strong as a welded one?
While a bolted trailer can be very strong, it may not be as durable as a welded trailer. Regular maintenance is essential to keep it secure.
Do I need a license plate for my homemade trailer?
In most states, you’ll need to register your trailer and obtain a license plate. Check with your local DMV for requirements.
Can I upgrade my no-weld trailer later?
Yes! You can always add features like side rails, a ramp, or additional storage later on.

Endow Russel the owner chief editor of giftendow.com . I am a mechanical engineer and assign to an local firm with much experience in welding and industrial equipment.

