When I first started working with aluminum, I quickly realized that welding it is a whole different challenge compared to steel. One of the lesser-known but still useful methods is gas welding aluminum.
While TIG and MIG welding have become more common for aluminum, gas welding still holds a special place, especially for thin materials, repairs, and vintage applications.

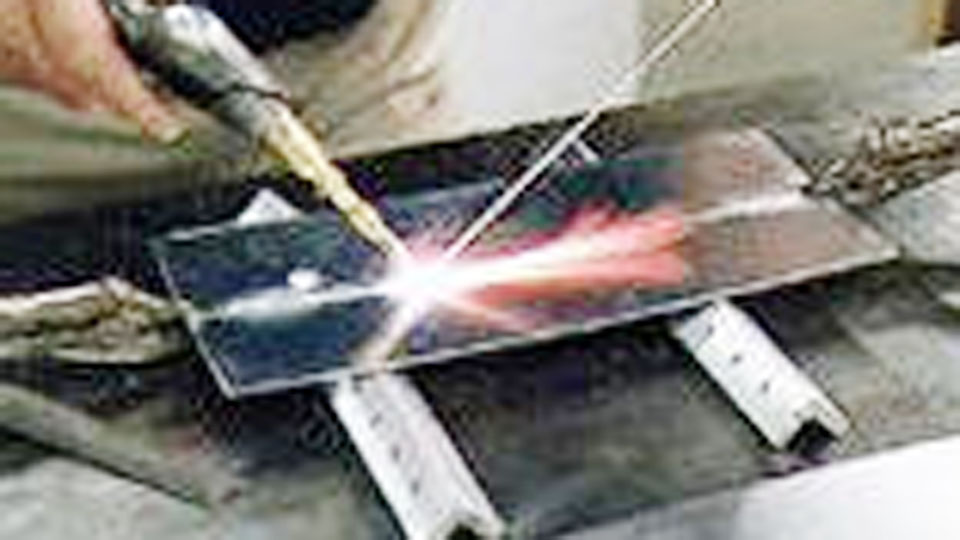
Image by fournierenterprises
If you’re wondering how to gas weld aluminum, you’re in the right place. I’ve spent time learning the best techniques, and I’ll walk you through everything from the tools you need to the actual welding process. If you’re a beginner or looking to refine your skills, this guide will help you get started with confidence.
Why Gas Weld Aluminum?
Gas welding aluminum isn’t as popular as TIG or MIG welding, but it still has its advantages.
No Electricity Needed – Gas welding only requires an oxy-acetylene setup, making it useful in remote locations.
Great for Thin Materials – It works well for thin aluminum sheets, where excessive heat from other welding methods could cause warping.
Good for Vintage Repairs – Classic cars, airplanes, and other historical restorations often use gas welding because it closely matches original manufacturing techniques.
Affordable Setup – If you already own an oxy-acetylene torch, you only need a few extra materials to start gas welding aluminum.
That being said, gas welding aluminum requires skill. Unlike steel, aluminum has no color change when it reaches its melting point, making it trickier to weld without overheating.
Tools and Materials Needed
Before getting started, you’ll need the right equipment. Here’s a breakdown of the essential tools and materials.
| Item | Purpose |
|---|---|
| Oxy-Acetylene Torch | Provides heat for melting aluminum |
| Welding Tip | A specialized tip for aluminum welding (usually size 200 or smaller) |
| Aluminum Welding Rods | Typically made from 1100 or 4045 aluminum |
| Flux for Aluminum Welding | Prevents oxidation and improves weld quality |
| Cleaning Brush (Stainless Steel) | Removes oxidation before welding |
| Protective Gear | Gloves, welding goggles, and flame-resistant clothing |
| Heat Sink (Optional) | Helps prevent warping in thin materials |
Preparing Aluminum for Gas Welding
Proper preparation is key to a strong, clean weld. Unlike steel, aluminum forms an oxide layer that has a much higher melting point than the base metal itself. This oxide needs to be removed before welding.
Cleaning the Aluminum
Use a stainless steel brush or an aluminum-specific cleaner to remove oxidation and contaminants. You should never use a steel brush meant for other metals, as it can leave behind traces of iron that may cause contamination.
Applying Flux
Aluminum welding flux is essential when gas welding. It serves two purposes:
- Removes oxides that naturally form on aluminum
- Helps you see the molten puddle since aluminum doesn’t change color when heated
Apply the flux evenly to the joint area and to your filler rod before starting the weld.
Setting Up Your Welding Torch
Aluminum requires a soft, neutral flame. If the flame is too oxidizing, it can introduce impurities into the weld.
- Use a small tip to provide low, controlled heat.
- Set the oxygen and acetylene ratio to produce a neutral flame—no excess oxygen or acetylene.
- Avoid carburizing flames, as they can introduce carbon into the weld.
Gas Welding Process
Once everything is set up, it’s time to start welding. Here’s the step-by-step process:
Preheat the Aluminum (If Necessary)
If you’re welding thicker aluminum, preheating can help reduce thermal shock and improve weld penetration. You can heat the piece to around 500°F, but be careful not to overheat.
Create the Weld Pool
Hold the torch at a low angle to the workpiece and heat the aluminum until it starts to form a molten puddle. Since aluminum doesn’t glow like steel, you have to watch closely for when it starts to flow.
Add Filler Rod
Once the base metal starts to melt, introduce the aluminum filler rod into the puddle. The flux will help break down any remaining oxides, allowing for a clean bond.
Maintain a Steady Motion
Aluminum conducts heat quickly, so keep the torch moving steadily. If you pause for too long, you can easily burn through the material. Small circular motions can help maintain a uniform weld bead.
Control Cooling
Let the welded part cool naturally. Rapid cooling can cause cracking or distortion, so avoid using water or compressed air to cool the weld.
Common Problems and How to Fix Them
Gas welding aluminum is challenging, and even experienced welders can run into problems. Here are some of the most common issues and how to fix them.
| Problem | Cause | Solution |
|---|---|---|
| Weld is weak or brittle | Lack of flux or improper cleaning | Ensure thorough cleaning and flux application |
| Burn-through or warping | Too much heat or staying in one spot too long | Use a smaller tip and keep the torch moving |
| Porosity in weld | Contaminants or moisture in material | Keep material dry and use clean filler rods |
| Cracking after welding | Rapid cooling | Allow aluminum to cool naturally |
Post-Weld Cleaning and Inspection
After welding, it’s important to remove any remaining flux, as it can cause corrosion if left on the surface. Simply use warm water and a brush to clean the welded area.
Inspect the weld for any signs of cracking, porosity, or incomplete fusion. If necessary, you can grind down and re-weld any weak spots.
When to Choose Gas Welding Over Other Methods
While TIG and MIG welding are more common for aluminum, gas welding still has its place. Here are a few situations where gas welding might be your best option:
- Repairing thin aluminum where TIG welding might be too aggressive
- Working in remote locations without access to electricity
- Restoring antique cars, aircraft, or bikes where original parts were gas-welded
- Learning aluminum welding basics before moving on to advanced methods
Conclusion
Gas welding aluminum may not be as popular as other methods, but it’s still a valuable skill to have. It gives you the ability to weld aluminum in remote areas, repair thin materials, and work on vintage projects with a traditional approach.
The key to success is proper preparation, precise heat control, and using flux to manage oxidation. With practice, gas welding aluminum can become a reliable and effective method for various applications.
If you’ve never tried it before, I highly recommend setting up a small test piece and giving it a shot. It might take a few tries to get it right, but once you get the hang of it, you’ll appreciate the control and craftsmanship that comes with gas welding aluminum.
FAQs
Can you gas weld aluminum without flux?
No, aluminum forms an oxide layer that must be removed with flux. Without flux, the weld will be weak and contaminated.
What type of gas is used for gas welding aluminum?
Oxy-acetylene is the most common gas combination for welding aluminum.
Is gas welding aluminum harder than TIG welding?
Yes, gas welding aluminum is more difficult because aluminum doesn’t change color when heated, making it harder to judge the temperature.
Can you gas weld aluminum to steel?
No, aluminum and steel have different melting points and properties, making them incompatible for direct gas welding.
What filler rod should I use for gas welding aluminum?
1100 or 4045 aluminum rods are commonly used, depending on the aluminum alloy being welded.

Endow Russel the owner chief editor of giftendow.com . I am a mechanical engineer and assign to an local firm with much experience in welding and industrial equipment.

