Welding aluminum can be tricky. Choosing the right process is crucial.
Aluminum is a popular metal, known for its strength and light weight. But welding aluminum poses unique challenges. Different welding methods offer various advantages and drawbacks. Selecting the best process ensures strong, clean welds. Whether you are a beginner or a seasoned welder, understanding these methods is vital.
This guide will help you navigate through the options. From TIG to MIG and beyond, we will explore the best welding processes for aluminum. Read on to find the most effective techniques and make informed decisions for your welding projects. Your journey to mastering aluminum welding starts here.
Credit: fractory.com
Introduction To Aluminum Welding
Aluminum welding is an art that requires precision and skill. Unlike other metals, aluminum has unique properties that make it both a challenge and a reward to work with. But fear not! With the right knowledge and techniques, anyone can master the craft. Whether you are a beginner or a seasoned welder, understanding the essentials of aluminum welding can open up a world of possibilities.
Importance Of Proper Technique
When it comes to aluminum welding, proper technique is crucial. Aluminum’s high thermal conductivity and low melting point mean that it can easily warp or burn through if not handled correctly. Using the right technique ensures a strong, clean weld and helps avoid common pitfalls.
- Heat Control: Aluminum requires precise heat control to avoid overheating.
- Proper Cleaning: Cleaning the aluminum thoroughly before welding is essential to remove any oxide layer.
- Correct Filler Material: Using the right filler material can prevent cracking and ensure a strong weld.
Common Challenges
Aluminum welding isn’t without its challenges. Many welders face issues such as porosity, cracking, and difficulty in achieving a smooth finish. But don’t worry, these challenges can be overcome with practice and the right approach.
| Challenge | Solution |
|---|---|
| Porosity | Ensure proper cleaning and use a shielding gas like argon. |
| Cracking | Use the correct filler material and preheat the metal if necessary. |
| Smooth Finish | Practice steady hand movements and maintain a consistent heat. |
Remember, every welder faces challenges. It’s part of the learning process. With patience and perseverance, you’ll soon be creating beautiful, strong aluminum welds.
So, are you ready to dive into the world of aluminum welding? With the right techniques and a bit of practice, you can master this skill and create impressive projects.
Types Of Aluminum Alloys
Aluminum welding requires understanding the types of aluminum alloys. Each type has unique properties that affect the welding process. Knowing these properties helps in selecting the right alloy for your project.
Series And Their Properties
Aluminum alloys are categorized into series based on their alloying elements. Each series offers different properties.
The 1xxx series is almost pure aluminum. It is soft, ductile, and has excellent corrosion resistance.
The 2xxx series contains copper. This makes it strong but less resistant to corrosion.
The 3xxx series has manganese. It provides good workability and moderate strength.
The 4xxx series includes silicon. It is known for its good wear resistance and low expansion.
The 5xxx series contains magnesium. It offers high strength and good corrosion resistance.
The 6xxx series has both magnesium and silicon. This combination provides good strength and corrosion resistance.
The 7xxx series includes zinc. It is very strong but less resistant to stress corrosion.
Choosing The Right Alloy
Choosing the right aluminum alloy depends on your project needs. Consider the strength required and the environment where the alloy will be used.
For high strength, the 2xxx and 7xxx series are ideal. If corrosion resistance is crucial, the 5xxx or 6xxx series is better.
For projects needing good workability, the 3xxx series works well. If you need pure aluminum with excellent ductility, the 1xxx series is best.
Understanding these properties helps in making an informed decision. The right alloy ensures the success of your welding project.
Welding Techniques For Aluminum
Aluminum welding can be tricky, but it’s not rocket science. With the right technique, you can achieve strong and clean welds. In this blog post, we’ll explore the most effective welding techniques for aluminum. So, grab your welding helmet, and let’s dive in!
Tig Welding
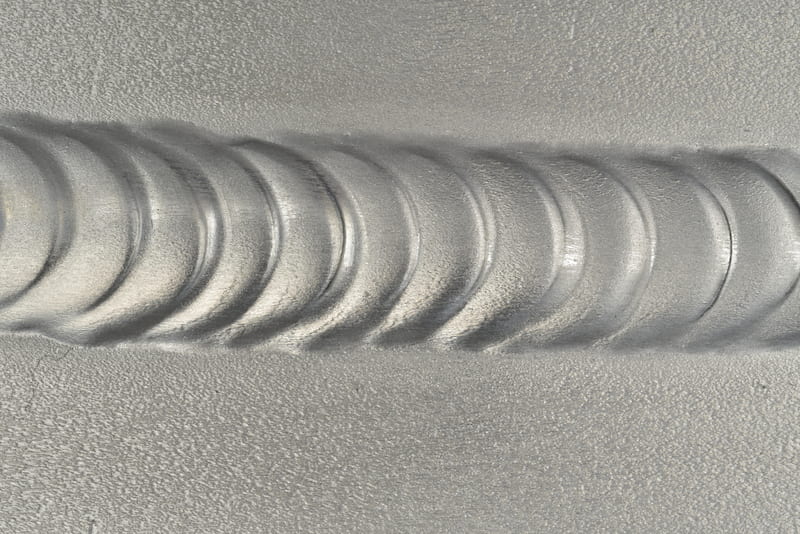
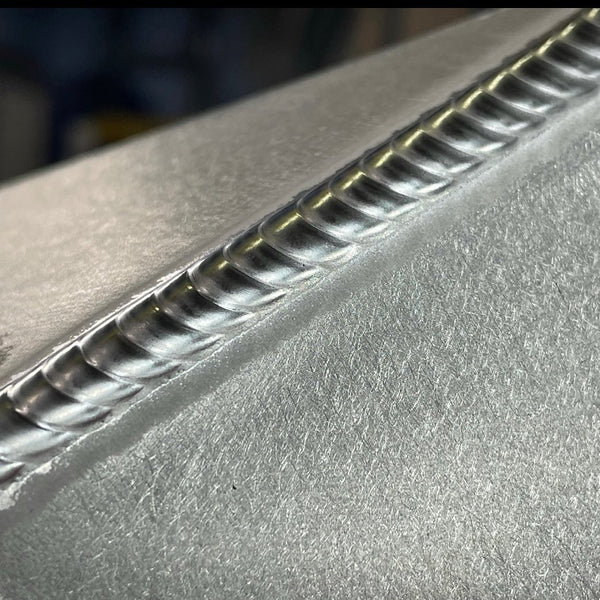
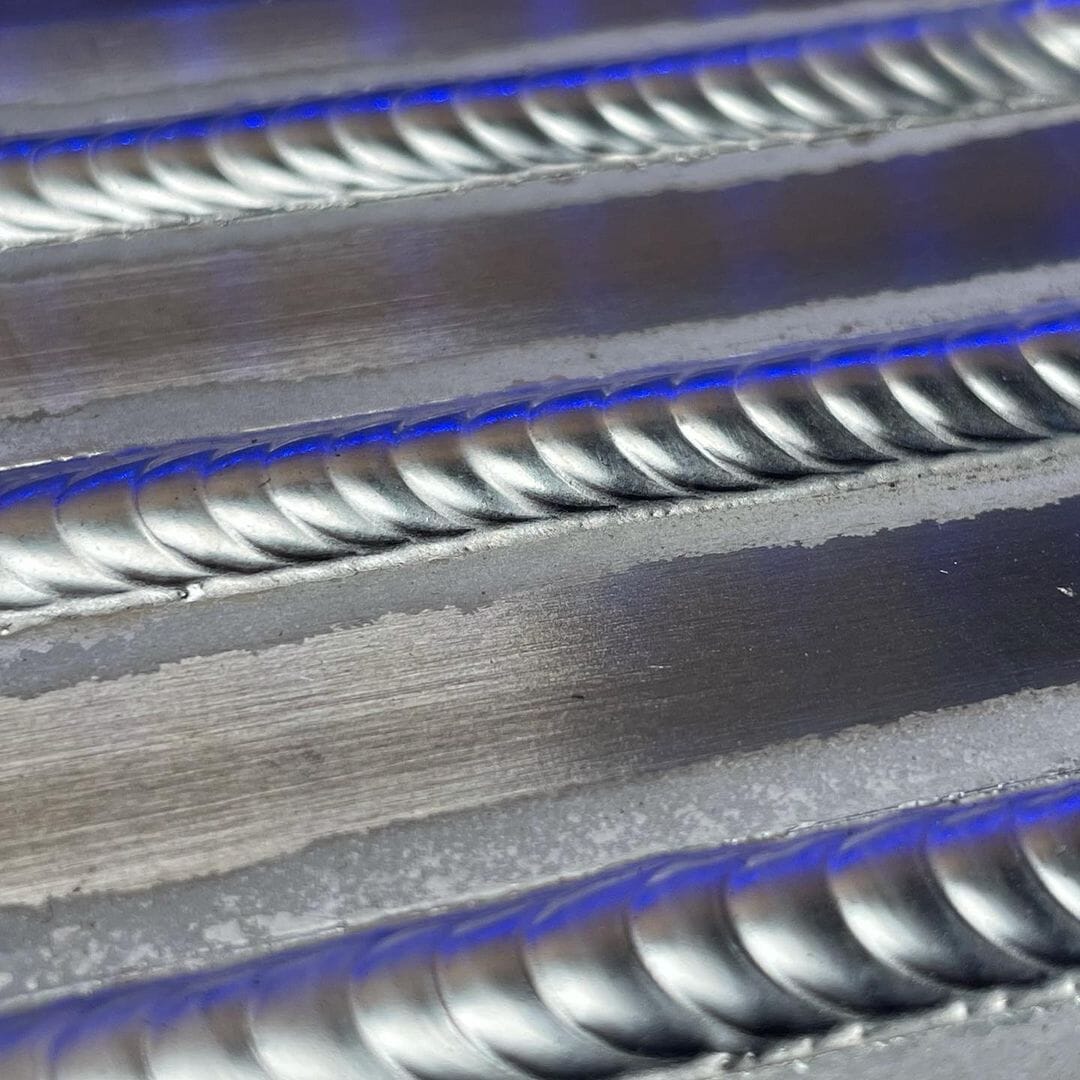
TIG (Tungsten Inert Gas) welding is a popular method for welding aluminum. Why? Because it offers precision and clean welds.
Here’s why TIG welding is a great choice:
- Precision: TIG welding allows you to control the heat, making it perfect for thin aluminum sheets.
- Clean Welds: It produces less spatter, resulting in a cleaner, more attractive weld.
- Versatility: You can use it on a variety of aluminum alloys.
But, there’s a catch. TIG welding requires a steady hand and a lot of practice. Think of it like riding a bike. It takes time to master, but once you do, you’re golden.
Mig Welding
MIG (Metal Inert Gas) welding is another effective technique for aluminum. It’s faster and easier than TIG welding, which makes it a favorite among beginners.
Here’s why you might choose MIG welding:
- Speed: MIG welding is quicker, ideal for larger projects.
- Ease of Use: It’s more forgiving, perfect for those just starting out.
- Cost-Effective: MIG welding equipment is usually cheaper than TIG welding gear.
However, MIG welding isn’t without its quirks. It tends to produce more spatter, which means more clean-up. And, while it’s easier to learn, achieving a flawless weld might take some time.
So, which technique should you choose? If you’re after precision and clean welds, go for TIG welding. But if you need speed and ease, MIG welding is your friend. Either way, practice makes perfect. So, keep at it, and soon you’ll be welding aluminum like a pro!
Credit: yeswelder.com
Preparation Steps
When welding aluminum, preparation is crucial for a strong and clean weld. Poor prep work can lead to contamination and weak joints. This section will guide you through essential steps for preparing aluminum before welding.
Cleaning The Aluminum
Aluminum surfaces must be spotless. Use a solvent to remove grease and oil. A clean rag works well for wiping the metal. Next, use a stainless steel brush to scrub off oxides. Only use this brush for aluminum to avoid contamination. Scrub in one direction to reduce surface damage.
Joint Design
Joint design impacts weld strength. For aluminum, a tight fit is important. Gaps can lead to weak welds. Consider using a beveled edge for thicker materials. This allows better penetration. Test fit the pieces before welding. Adjust as needed for a snug fit.
Welding Parameters
When it comes to welding aluminum, the right welding parameters can make a world of difference. These parameters are the key to achieving strong, clean welds without defects. Today, we’ll dive into two critical aspects: Current Settings and Shielding Gas. These elements play a crucial role in the welding process, ensuring the best results for your aluminum projects.
Current Settings
Setting the correct current is like finding the sweet spot in a recipe. Too much current, and you risk burning through the aluminum. Too little, and you won’t get a proper weld. The aim is to use just the right amount. Typically, aluminum welding requires a higher current than steel.
Here are some practical tips to help you get it right:
- AC (Alternating Current) is preferred for aluminum welding. This helps in cleaning the oxide layer from the aluminum surface.
- Frequency: Set your frequency between 80-120 Hz. This provides a stable arc.
- Balance Control: Adjust balance control to around 60-70% electrode positive (EP). This ratio helps with oxide cleaning and penetration.
- Amperage: As a rule of thumb, set 1 amp per 0.001 inches of material thickness. For example, a 1/8 inch (0.125 inches) thick aluminum needs around 125 amps.
Remember, practice makes perfect. Adjust your settings based on the thickness of the aluminum and the type of joint you’re working on.
Shielding Gas
Shielding gas is like the protective gear for your weld. It prevents contamination from the surrounding air. For aluminum welding, choosing the right gas is vital.
Here’s what you need to know about shielding gas for aluminum welding:
- Argon: This is the most commonly used shielding gas for aluminum welding. It provides excellent arc stability and cleaning action.
- Helium: Sometimes mixed with argon, helium increases heat input and improves weld penetration. This is particularly useful for thicker aluminum.
- Flow Rate: Set the flow rate between 15-20 cubic feet per hour (CFH). Too high or too low can affect the weld quality.
For beginners, sticking with 100% argon is a safe bet. It’s easy to use and gives reliable results. As you gain more experience, you can experiment with argon-helium mixes for specific projects.
So there you have it—two essential welding parameters to master when working with aluminum. By fine-tuning your current settings and selecting the right shielding gas, you can ensure strong, clean welds every time. Happy welding!
Credit: yeswelder.com
Common Problems And Solutions
Welding aluminum can be tricky. It often presents unique challenges. Understanding common problems and solutions helps ensure quality welds. Below, we delve into common issues like porosity and cracking, and how to address them.
Porosity
Porosity in aluminum welds appears as small holes or gas pockets. These weaken the weld. It occurs due to trapped gases. Contaminants like oil, dirt, or moisture can cause porosity. Clean the aluminum surface thoroughly before welding. Use a stainless steel brush. Ensure the welding area is dry. Check your shielding gas flow rate. Inadequate gas flow can lead to porosity. Use high-quality filler materials. Low-quality fillers may contain impurities. Maintain a stable arc. An unstable arc can introduce gases into the weld.
Cracking
Cracking is another common problem in aluminum welding. It occurs during or after welding. Several factors contribute to cracking. High thermal expansion of aluminum is one. This causes stress in the weld. Use proper preheating techniques. Preheating reduces temperature differences. This minimizes stress. Choose the right filler material. Some fillers are better at reducing cracking. Control your cooling rate. Too rapid cooling can cause cracks. Allow the weld to cool slowly. Proper joint design is crucial. Poor joint design can increase stress. Ensure the joint allows for some movement.
Post-welding Treatments
So, you’ve just finished welding that tricky aluminum project? Great job! But hold on, the work isn’t over yet. For the best results, you need to look at post-welding treatments. These are the steps that ensure your weld is as strong and smooth as possible. Let’s dive into what you should do next.
Heat Treatment
Aluminum often needs a bit of TLC after welding. Heat treatment can help with that. But what is it?
Heat treatment involves heating the aluminum to a specific temperature and then cooling it down. This process helps relieve stress in the metal. Here’s a simple way to think about it:
- Heating: This softens the aluminum, making it easier to shape and work with.
- Cooling: This hardens the aluminum, making it stronger.
But why is this important? Without heat treatment, your welds might be weak or brittle. Think of it like baking a cake. If you skip the oven part, you just have a bowl of goo. Not very helpful, right?
For aluminum, the common heat treatments are:
- Annealing: Softens the metal for further work.
- Solution Heat Treatment: Dissolves alloying elements into the metal.
- Age Hardening: Improves strength by forming tiny particles within the metal.
Surface Finishing
Now, let’s talk about the look of your weld. Surface finishing is about making your aluminum look as good as it performs. Here’s how you can do it:
First, you may want to clean the surface. Welding can leave behind oxides and other residues. You can use:
- Wire Brushes: For a quick scrub.
- Grinding Wheels: For a smooth finish.
- Sandpaper: For those fine details.
Next, consider polishing. This step can make your aluminum shiny and new. Polishing compounds and buffing wheels are your best friends here.
And finally, think about protecting that beautiful finish. Anodizing is a popular choice. It adds a protective layer to the aluminum, making it more resistant to corrosion.
So, what’s the takeaway? Post-welding treatments might seem like extra steps, but they’re essential. They can turn a good weld into a great one. And let’s be honest, who doesn’t want their work to be top-notch?
Remember, every project is different. But with the right post-welding treatments, your aluminum welds will be strong, smooth, and ready for whatever comes next.
Safety Tips
When it comes to welding aluminum, safety should be your top priority. Aluminum welding can be tricky and dangerous if proper precautions are not taken. To ensure you stay safe and avoid any mishaps, follow these essential safety tips. From the right protective gear to creating a safe work environment, we’ve got you covered.
Protective Gear
First and foremost, always wear the right protective gear. You wouldn’t go into battle without armor, right? Welding is no different.
- Welding Helmet: Invest in a good quality welding helmet. One with an auto-darkening feature can save your eyes from the bright light.
- Gloves: Use heat-resistant gloves. They will protect your hands from burns and sparks.
- Clothing: Wear long-sleeved shirts and pants. This will protect your skin from UV radiation and hot metal.
- Boots: Steel-toe boots are great. They provide protection from falling objects and sharp materials.
Remember, skimping on protective gear is like playing with fire. Literally!
Work Environment
Next up is your work environment. A well-prepared workspace can make a world of difference.
- Ventilation: Ensure your workspace is well-ventilated. Fumes from welding can be harmful.
- Fire Safety: Keep a fire extinguisher nearby. Sparks can ignite flammable materials.
- Cleanliness: Keep your area clean and free of clutter. Tripping over tools while welding is a recipe for disaster.
- Lighting: Good lighting helps you see better. It ensures precision and reduces the risk of accidents.
Setting up a safe work environment is like building a strong foundation for a house. It keeps everything stable and secure.
By following these safety tips, you can ensure a safer and more efficient aluminum welding process. Stay safe and happy welding!
Frequently Asked Questions
What Is The Best Method Of Welding Aluminum?
The best method for welding aluminum is TIG (Tungsten Inert Gas) welding. It provides precision and strong welds. MIG (Metal Inert Gas) welding is also effective for thicker aluminum.
Is Mig Or Tig Welding Better For Aluminum?
TIG welding is better for aluminum. It provides precise control and cleaner welds. MIG welding is faster but less precise.
Is It Better To Push Or Pull When Welding Aluminum?
Pulling is better when welding aluminum. It provides better shielding gas coverage and reduces the risk of contamination.
How To Avoid Distortion When Welding Aluminium?
To avoid distortion when welding aluminium, use proper clamping and fixturing. Weld in small, alternating sections. Preheat the aluminium. Use the right welding technique. Control heat input carefully.
Conclusion
Choosing the best welding process for aluminum is crucial. Different methods suit different needs. TIG welding offers precision and cleanliness. MIG welding is faster and easier for beginners. Each method has its own advantages. Consider your project’s requirements. Safety is also important.
Always wear protective gear while welding. Understanding these basics helps in making an informed choice. Happy welding!
