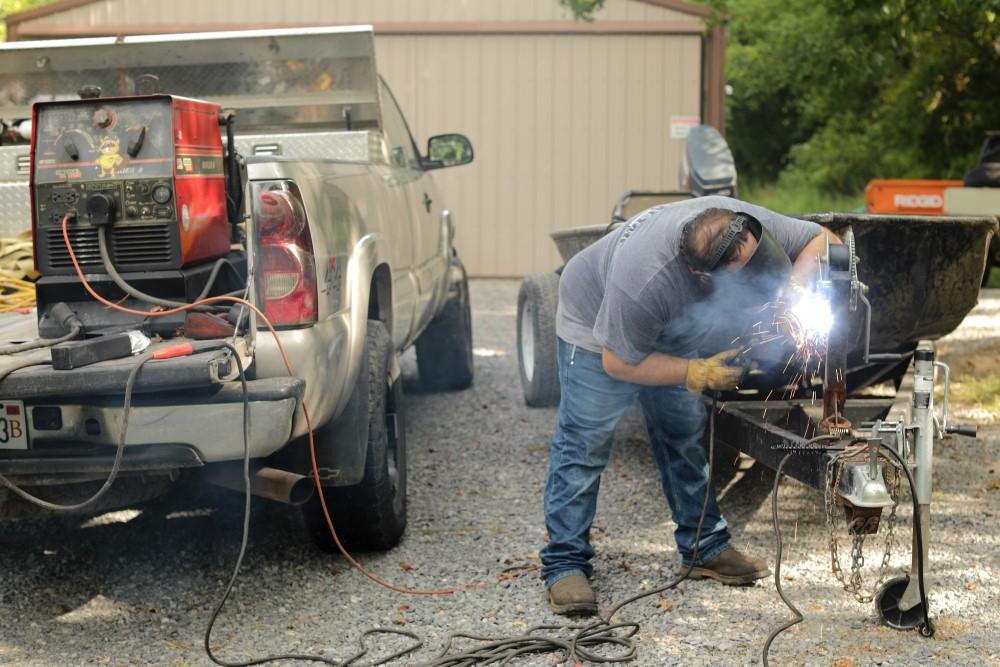
Yes, welding leads can be repaired. It is not only possible but often cost-effective.
Repairing welding leads can save money and prolong their lifespan. Welding leads are essential tools for any welder. Over time, they can suffer from wear and tear. Cracks, cuts, and damaged connectors are common issues. Instead of replacing them, repairing can be a viable option.
It involves inspecting the damage, using proper tools, and following safety measures. Repairing welding leads not only saves costs but also keeps your equipment in good working condition. In this post, we will explore the steps and precautions for repairing welding leads. This guide will help you understand the process and decide if repairing is the right choice for your situation.
Common Welding Lead Issues
Welding leads can face various issues over time. These problems can hinder work efficiency and safety. Understanding common welding lead issues helps in timely repairs.
Frayed Cables
Frayed cables are a frequent problem in welding leads. These cables often wear out due to constant use and movement. When cables fray, the inner wires become exposed. This can lead to short circuits and possible electric shocks. Regular inspection can help identify frayed cables early. Replacing or repairing these cables ensures safety and efficiency.
Damaged Connectors
Damaged connectors are another common issue. Connectors join the welding lead to the machine. If connectors are loose or broken, they can cause poor connections. This affects the welding performance. Damaged connectors can also pose safety risks. Regular checks and timely repairs of connectors can prevent these issues. Using high-quality connectors can also extend the life of your welding leads.
Safety Precautions
Welding leads can be repaired, but safety must be your top priority. Following proper safety precautions can prevent accidents and ensure a smooth repair process. Let’s dive into the key safety aspects you need to consider.
Protective Gear
Always wear appropriate protective gear. This includes a welding helmet, gloves, and a fire-resistant jacket. These items protect you from sparks, heat, and ultraviolet light. Proper footwear is also essential. Steel-toed boots offer protection from heavy objects. Avoid synthetic clothing. It can melt and cause severe burns.
Proper Workspace Setup
Ensure your workspace is clean and organized. Remove any flammable materials from the area. Good ventilation is crucial. It prevents the buildup of harmful fumes. Ensure your tools are in good condition. Faulty equipment can pose a safety risk.
Use a sturdy workbench. It should be stable and at a comfortable height. Proper lighting is important. It allows you to see your work clearly. Keep a fire extinguisher nearby. In case of an emergency, you can respond quickly.
Essential Tools And Materials
Repairing welding leads can save you time and money, especially if you have the right tools and materials. In this section, we’ll cover the essential items you’ll need to get the job done. Whether you’re a seasoned welder or a DIY enthusiast, having these tools on hand will make the repair process smoother and more efficient.
Repair Kits
Repair kits are a handy solution for fixing welding leads. They often include everything you need, like connectors, sleeves, and even instructions. Here are some common items found in a typical repair kit:
- Connector pins
- Heat shrink tubing
- Crimping tools
- Wire strippers
Imagine you’re halfway through a project, and your welding lead breaks. You could either panic or calmly reach for your repair kit. The latter, of course! These kits are designed to be user-friendly, making them ideal even for those who aren’t welding pros.
Pro Tip: Make sure your repair kit is compatible with the type of welding leads you use. The last thing you want is to have the wrong connectors or tools!
Replacement Parts
Sometimes, a repair kit isn’t enough, and you might need specific replacement parts. This could be due to severe damage or wear and tear. Here’s a list of common replacement parts you might need:
- Cable lugs
- Ground clamps
- Electrode holders
- Insulation covers
Replacing parts might sound intimidating, but it’s simpler than you think. For example, swapping out an old ground clamp for a new one can drastically improve your welding efficiency. And who doesn’t want a smoother welding experience?
One time, I had to replace an electrode holder. The old one was causing poor connections, leading to frustratingly erratic welds. Swapping it out was a breeze and made a world of difference. So, don’t underestimate the power of fresh parts!
In conclusion, having the essential tools and materials at your disposal can make repairing welding leads a straightforward task. Whether you opt for a comprehensive repair kit or individual replacement parts, being prepared is key. Happy welding!

Credit: bid.oahuauctions.com
Inspecting Welding Leads
One question many welders ponder is whether their welding leads can be repaired. Before diving into any repair, it’s crucial to inspect the welding leads thoroughly. A proper inspection can help identify issues early, saving time and ensuring safety during welding operations. Let’s dive deeper into the inspection process with some straightforward steps you can follow.
Visual Inspection
Start by giving the welding leads a good once-over. Look for obvious signs of wear and tear. Here are some things to watch for:
- Cracks or cuts: These can expose the internal wires, leading to shorts or other electrical issues.
- Burn marks: These can indicate overheating, which may be a result of poor connections or overloading.
- Corrosion: Check the connectors and terminals. Corrosion can impede the flow of electricity, affecting performance.
Remember the time when I thought I could ignore a small crack? It ended up costing me more in the long run. Don’t make the same mistake!
Electrical Testing
After a visual check, it’s time to test the electrical integrity of the leads. This step ensures they are functioning correctly and safely. Here’s how you can do it:
- Continuity Test: Use a multimeter to check if the current can flow through the lead. Set the multimeter to the continuity setting, and touch the probes to either end of the lead. If the meter beeps, you’re good to go.
- Resistance Test: This test measures how much the lead resists the flow of electricity. A higher resistance indicates potential issues. Again, using a multimeter, set it to measure resistance (ohms) and check the readings. Lower readings are better.
These tests might sound complex, but they’re quite simple once you get the hang of it. Think of it as giving your welding leads a health check-up!
By performing these inspections regularly, you can ensure your welding leads are in top-notch condition. This not only boosts your welding performance but also keeps you safe. So, the next time you’re about to start welding, take a few minutes to inspect those leads. It’s a small step that makes a big difference!
Repairing Frayed Cables
Welding is a fascinating skill that requires precision and safety. One of the most common issues welders face is frayed cables. These frayed cables can pose serious safety risks if not dealt with properly. Luckily, repairing them is not as complex as you might think. Let’s dive into some practical steps to fix those frayed welding cables.
Cutting Damaged Sections
First things first, you need to cut out the damaged sections of the cable. It might sound daunting, but it’s quite simple. Here’s how you do it:
- Identify the frayed or damaged part of the cable.
- Use a sharp wire cutter to snip off the damaged section. Be sure to cut a few inches away from the visible damage to ensure you’ve removed all compromised parts.
- Inspect the cut ends to make sure there are no remaining frayed wires.
Remember, it’s better to cut a little more than to leave any damaged strands that could cause trouble later.
Splicing Techniques
After cutting the damaged section, the next step is to splice the cables back together. This is where your skills come into play. Here’s a simple method to splice the cables:
- Strip the insulation from the ends of the cable using a wire stripper. You need about an inch of exposed wire on each end.
- Twist the exposed wires together tightly. Make sure the connection is firm and the wires are securely intertwined.
- Use a soldering iron to solder the twisted wires. This step ensures a strong connection. Heat the solder until it flows into the wires and binds them together.
- Once cooled, cover the soldered section with electrical tape or heat shrink tubing. This provides insulation and protects the connection from further damage.
And there you have it! A repaired cable that’s as good as new.
Fixing frayed welding cables might seem tricky at first, but with a little patience and practice, you’ll find it’s a straightforward process. Plus, knowing how to repair your tools can save you a lot of time and money in the long run. So next time you see a frayed cable, don’t panic. Just follow these steps and get back to welding like a pro!
Fixing Damaged Connectors
Welding leads often face wear and tear, making their connectors vulnerable to damage. Fixing damaged connectors is crucial for ensuring a secure and effective welding connection. This process can seem daunting, but with some guidance, you can repair them yourself. Let’s explore the types of connectors and the replacement process.
Connector Types
Welding leads use different types of connectors. The most common are twist-lock and cam-lock connectors. Twist-lock connectors are popular for their secure fit. Cam-lock connectors offer quick and easy changes. Knowing your connector type helps you choose the right replacement parts.
Replacement Process
First, disconnect the damaged lead from the power source. Use a screwdriver to remove the old connector. Strip the insulation off the lead to expose fresh wire. Attach the new connector by securing the exposed wire inside. Ensure a tight fit to prevent any loose connections.
After attaching the new connector, test the lead with a multimeter. This ensures there are no continuity issues. Finally, reconnect the lead to the power source and test it under load. This confirms the repair is successful and the connection is secure.
Maintenance Tips
Maintaining welding leads is essential for safety and efficiency. Proper care can extend their lifespan and reduce the need for repairs. Below are some maintenance tips that will help keep your welding leads in top shape.
Regular Inspections
Inspect welding leads frequently for any damage. Look for cuts, burns, or worn-out sections. Check the connections to make sure they are tight and secure. This helps prevent electrical hazards and ensures consistent performance.
Pay attention to the insulation. Any cracks or splits can expose the wire. This can be dangerous. Replace damaged sections immediately. Regular checks can catch issues early, saving time and money.
Proper Storage
Store welding leads in a dry, cool place. Avoid areas with high humidity or extreme temperatures. Moisture and heat can degrade the insulation. This reduces the lifespan of the leads.
Keep leads coiled neatly when not in use. Avoid tangling or kinking. This prevents damage and makes them easier to use next time. Use hooks or reels to keep them organized and off the ground.

Credit: www.thefabricator.com
When To Replace Leads
Welding leads can often be repaired instead of replaced. If the insulation is damaged or the connectors are worn out, repairing may be a cost-effective option. Regular checks can help determine if a simple fix is enough.
Knowing when to replace welding leads is vital for safety and efficiency. Damaged leads can pose serious risks and affect your welding work. It’s important to recognize signs of damage and weigh the costs before deciding to repair or replace.Signs Of Irreparable Damage
Visible cracks or fraying on the insulation are red flags. Exposed wires can lead to electric shocks. If the lead frequently overheats, it could be dangerous. Persistent issues with power delivery also indicate significant wear.Cost-benefit Analysis
Repairing leads can be cheaper upfront. Yet, frequent repairs add up. New leads often last longer and ensure safety. Weigh the cost of new leads against the potential risks of using old ones. Sometimes, investing in new leads saves money in the long run. “`
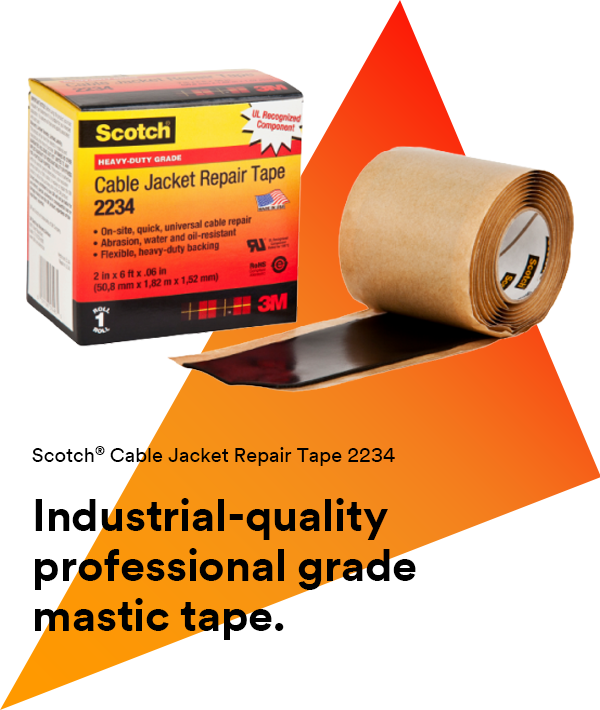
Credit: www.3m.com
Frequently Asked Questions
Can You Repair Welding Lead?
Yes, you can repair welding leads. Inspect for damage, cut out the faulty section, and reconnect using proper connectors. Ensure secure insulation.
How Often Should You Change Welding Leads?
Change welding leads every 6 to 12 months. Inspect them regularly for wear, damage, and performance issues. Replace immediately if any faults are found.
Can Welding Leads Be Taped?
Yes, you can tape welding leads. Use high-quality, heat-resistant tape to ensure safety and durability. Regularly inspect the tape for wear and tear.
Do Welding Leads Go Bad?
Yes, welding leads can go bad. They may degrade due to wear, exposure to heat, or physical damage. Regular inspection and maintenance are essential to ensure safe and efficient operation. Replace damaged leads promptly to avoid safety hazards.
Conclusion
Repairing welding leads is possible and often cost-effective. Safety must be a priority. Inspect regularly for wear and damage. Use proper tools and techniques for repairs. Consider professional help for complex issues. Taking care of welding leads extends their life.
It also ensures better performance. Always prioritize safety and efficiency in welding tasks.

