Welding is an essential skill in many industries. Beginners often find it challenging to start.
Starting with the right tools and techniques is crucial. Welding can seem complex, but with guidance, anyone can learn. This blog post will explore the best welding options for beginners. We’ll look at different methods, tools, and safety tips. By the end, you’ll have a clear understanding of where to start.
Whether you’re interested in DIY projects or a career, this guide will help. Let’s dive in and discover the best welding methods for new welders.
Getting Started With Welding
Welding is a valuable skill. It allows you to join metal pieces. Many beginners find welding exciting. But it’s important to start right. This guide will help you begin your welding journey. Follow these steps to ensure success.
Choosing The Right Equipment
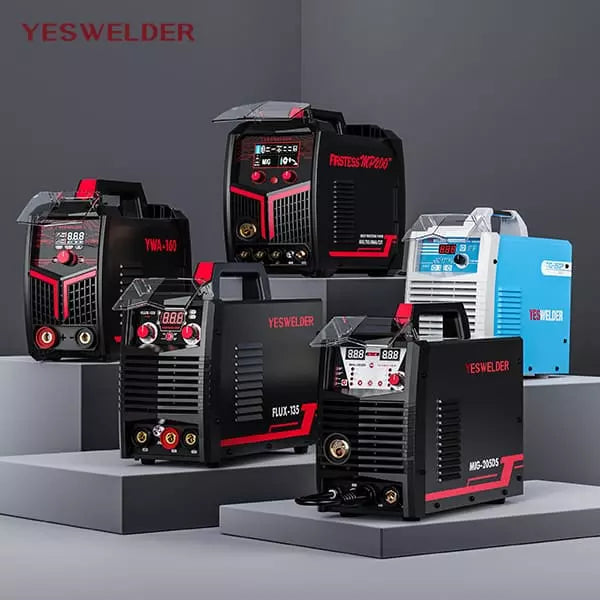
First, you need the right welding equipment. There are different types of welders. For beginners, MIG welders are a good choice. They are easy to use and versatile. You also need a welding helmet. This protects your eyes from sparks. Gloves and a welding jacket are also essential. These protect your hands and body.
Safety Gear And Precautions
Welding can be dangerous. Always wear safety gear. A welding helmet protects your eyes. Use gloves to protect your hands. A welding jacket shields your body from sparks. Ensure you have proper ventilation. Welding fumes can be harmful. Work in a well-ventilated area. Keep a fire extinguisher nearby. This helps in case of emergencies. Always follow safety guidelines. Your safety should be a top priority.

Credit: www.americanrotary.com
Understanding Welding Types
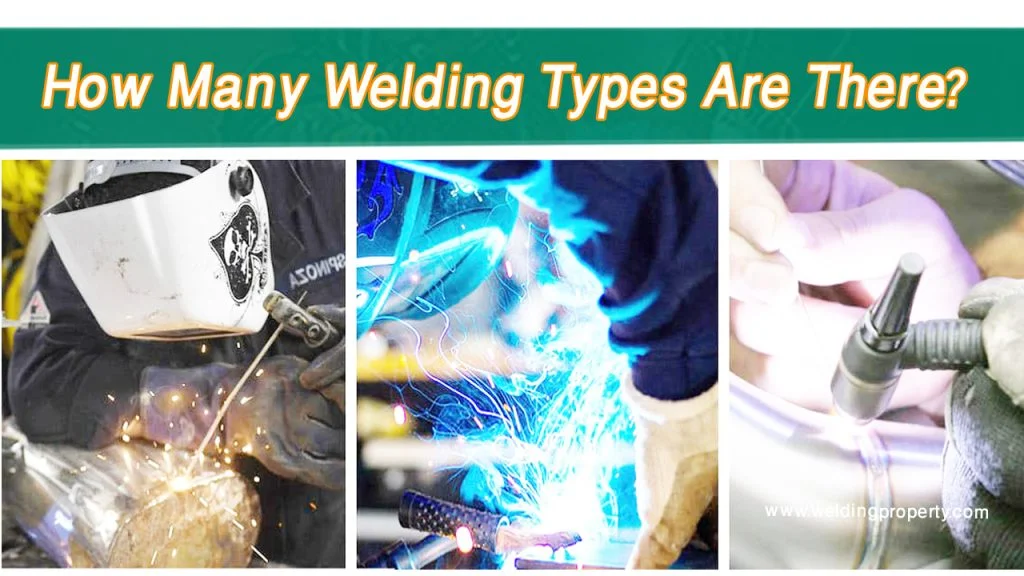
If you’re new to welding, the many types can seem confusing. Don’t worry, we’ve got you covered. In this section, we’ll break down two common welding methods: MIG and TIG. Knowing the basics of each will help you decide which one suits your needs best. Ready? Let’s dive in!
Mig Welding Basics
MIG welding, also known as Metal Inert Gas welding, is one of the easiest types to learn. It’s great for beginners. MIG welding uses a spool of wire that feeds through a gun. When you pull the trigger, the wire melts and joins the metals together. Simple, right?
- Pros: Quick, easy to learn, good for large projects
- Cons: Not great for thin metals, less precise
Here’s a quick table to summarize:
| Feature | Details |
|---|---|
| Ease of Use | Very beginner-friendly |
| Speed | Fast |
| Precision | Moderate |
Tig Welding Basics
TIG welding stands for Tungsten Inert Gas welding. Unlike MIG, it uses a non-consumable tungsten electrode. This method is a bit harder to learn, but it offers more control. TIG welding is perfect for thinner metals and projects where precision is key.
- Pros: High precision, good for thin metals, clean welds
- Cons: Slower, harder to learn
Here’s a quick table to summarize:
| Feature | Details |
|---|---|
| Ease of Use | More challenging for beginners |
| Speed | Slower |
| Precision | High |
Both methods have their pros and cons. If you want something quick and easy, go for MIG. If you need precision and are up for a challenge, try TIG. Remember, practice makes perfect. Don’t be afraid to make mistakes. Every pro welder started as a beginner!
Essential Welding Techniques
Welding is a skill that can open the door to a lot of opportunities. However, it can be intimidating for beginners. Don’t worry! With some essential techniques, you can weld like a pro in no time. In this section, we’ll cover two key aspects of welding: proper positioning and controlling heat and speed.
Proper Positioning
Proper positioning is crucial in welding. It’s like dancing; if you’re out of step, everything falls apart. Here are some tips:
- Comfort: Make sure you are comfortable. A stable stance can make a big difference.
- Angle: Keep the welding torch at the right angle. Generally, a 15-degree angle is good for most welding jobs.
- Distance: Maintain the correct distance between the torch and the material. Too close, and you’ll burn through; too far, and the weld won’t stick.
Once you master positioning, you’ll find welding much easier and more enjoyable. Imagine it like playing a video game; you need to get your controls right to win!
Controlling Heat And Speed
Controlling heat and speed is like cooking; too much or too little can ruin the dish. Here’s how to get it right:
- Heat: Adjust the welding machine’s heat settings based on the material you’re welding. Thicker materials need more heat.
- Speed: Move the welding torch at a consistent speed. Too fast, and the weld will be weak; too slow, and you risk burning through the material.
- Practice: Practicing on scrap metal can help you get a feel for the right heat and speed.
Think of controlling heat and speed as learning to ride a bike. It takes practice, but once you get the hang of it, it becomes second nature.
Remember, every expert was once a beginner. With proper positioning and control over heat and speed, you’ll be on your way to becoming a skilled welder. Happy welding!

Credit: yeswelder.com
Practice Makes Perfect
Welding requires skill and attention. Beginners need to practice a lot. Even experienced welders keep practicing. Practicing helps improve technique and confidence.
Beginner Projects
Start with simple projects. A metal box or a small frame is good. These projects help you understand the basics. Try making a metal stool or a simple garden tool. These projects are practical and useful.
Use scrap metal for practice. It saves money and helps you learn. Make sure the metal is clean. Rust or dirt can affect the weld.
Common Mistakes To Avoid
Many beginners make mistakes. One common mistake is moving too fast. The weld needs time to form. Move the welding torch slowly. Another mistake is poor preparation. Clean the metal well before welding. Dirty metal leads to weak welds.
Also, avoid using too much heat. Excessive heat can warp the metal. Use the right amount of heat for the material. Lastly, wear proper safety gear. Protect your eyes and skin from sparks.
Remember, practice makes perfect. Keep working on small projects. Learn from your mistakes. Happy welding!
Metal Preparation
When starting with welding, one of the most important steps is metal preparation. It’s like setting the stage for a great performance. Without proper preparation, the welding process can become a nightmare. But don’t worry; we’ll walk you through the basics of cleaning, cutting, tacking, and clamping metal to ensure you get off to a solid start.
Cleaning And Cutting
First things first, let’s talk about cleaning. Think of it like cleaning your room before having guests over. You want to remove all the dirt, rust, and oil from your metal pieces. A wire brush or a grinder can help you with this. Clean metal welds better and makes your job easier.
Now, onto cutting. Precision is key here. Using tools like a hacksaw, angle grinder, or a plasma cutter can make cutting metal simpler and more accurate. Remember, measure twice, cut once. It saves time and materials.
Tacking And Clamping
Once your metal pieces are clean and cut, the next step is tacking and clamping. Tacking is like putting a small stitch in fabric; it holds everything in place before you do the main welding. Make small welds at the edges to keep your pieces steady.
Clamping is crucial for keeping your metal in place. You don’t want your pieces to shift when you’re welding. Use C-clamps or locking pliers to secure your work. It’s like having an extra pair of hands!
In conclusion, thorough metal preparation makes welding easier and more effective. Clean, cut, tack, and clamp your metal, and you’re halfway to a perfect weld. Remember, practice makes perfect, and don’t hesitate to ask for help if you need it. Happy welding!

Credit: yeswelder.com
Welding Safety Tips
Welding is an amazing skill to learn, but it comes with its own set of risks. For beginners, it’s crucial to understand the importance of safety from the get-go. Whether you’re planning to weld as a hobby or for professional purposes, following these welding safety tips will help you stay protected and ensure a smooth learning experience.
Fire Safety
One of the biggest hazards in welding is the risk of fire. Sparks can fly, and with temperatures reaching up to 10,000 degrees Fahrenheit, it’s easy for things to catch fire. Here are some key fire safety tips to keep in mind:
- Clear Your Workspace: Make sure your work area is free of any flammable materials like paper, wood, and even certain fabrics. A clutter-free space is a safer space.
- Use Fire-Resistant Gear: Always wear fire-resistant clothing, gloves, and a welding helmet. These items protect you from sparks and intense heat.
- Have a Fire Extinguisher Handy: Keep a fire extinguisher nearby and know how to use it. It’s your first line of defense if something does catch fire.
- Watch Out for Hidden Sparks: Sometimes, sparks can smolder and turn into flames after you’ve finished welding. Always check your surroundings for hidden sparks.
Ventilation And Fume Control
Welding produces fumes that can be harmful if inhaled. Proper ventilation is crucial to ensure you’re breathing clean air. Here’s how you can manage fumes effectively:
- Work in a Well-Ventilated Area: If possible, weld outdoors. If you’re indoors, make sure the space is well-ventilated by opening windows and using fans.
- Use Fume Extractors: These devices capture and remove harmful fumes from your breathing zone. They’re especially useful in confined spaces.
- Wear a Respirator: Depending on the materials you’re welding, a respirator might be necessary. It provides an extra layer of protection against inhaling toxic fumes.
- Avoid Galvanized Metal: Welding on galvanized metal releases zinc fumes, which are particularly dangerous. If you must weld on it, make sure you remove the coating first and have excellent ventilation.
Remember, welding safety is not just about following rules; it’s about developing good habits that protect you in the long run. As you gain experience, these safety tips will become second nature. Stay safe and happy welding!
Advanced Tips For Beginners
So, you’re getting the hang of welding, and you’re ready for some advanced tips? Great! Even as a beginner, you can take your welding skills to the next level with a few additional tricks up your sleeve. Let’s dive into some advanced tips for beginners that will help you weld like a pro in no time.
Reading Welding Symbols
Understanding welding symbols is like learning a new language. But don’t worry, you don’t need a degree to get the basics. These symbols are used in blueprints and plans to communicate how and where to weld. Here’s a simple breakdown:
- Arrow Line: Points to the location of the weld.
- Reference Line: The main line where symbols are placed.
- Weld Symbol: Shows the type of weld (e.g., fillet, groove).
- Tail: Contains additional instructions.
By recognizing these symbols, you can save time and avoid mistakes. Think of it as a secret code that, once cracked, opens a world of precision and efficiency.
Understanding Material Properties
Not all metals are created equal. Knowing the properties of the material you are welding can make a huge difference. Let’s look at some key factors:
| Material | Properties | Best Practices |
|---|---|---|
| Steel | Strong, durable | Use high heat, slow cool |
| Aluminum | Lightweight, conducts heat | Use lower heat, fast travel speed |
| Stainless Steel | Resistant to rust | Use low heat, control warping |
Each material has its quirks. For instance, welding aluminum is like trying to pat your head and rub your tummy at the same time – it takes practice! But once you understand the properties, you’ll weld more effectively and with fewer errors.
In conclusion, mastering advanced welding tips, such as reading welding symbols and understanding material properties, will elevate your skills. Keep practicing and soon, you’ll be the go-to welder among your peers. Ready to spark up your welding torch and try these tips out?
Maintenance And Troubleshooting
When you are new to welding, maintenance and troubleshooting might sound intimidating. But fear not! Keeping your welding equipment in tip-top shape and fixing common issues can be easy once you know the basics. Let’s dive into some simple steps you can follow to ensure your welding journey is smooth and hassle-free.
Cleaning Your Equipment
Clean equipment is happy equipment. Dirt and debris can cause all sorts of problems in welding. Here’s how to keep your gear clean:
- Wipe Down: After every use, wipe down your welding torch and cables with a clean, dry cloth.
- Check the Nozzle: Make sure the nozzle is free of spatter. Use a wire brush or nozzle cleaner.
- Inspect the Cables: Look for any cracks or frays. Replace damaged cables immediately.
Regular cleaning not only extends the life of your equipment but also ensures better welds. And who doesn’t want better welds?
Fixing Common Welding Issues
Even with the best maintenance, issues can crop up. Here are some common welding problems and how to fix them:
- Poor Penetration: If the weld doesn’t penetrate deeply enough, try increasing the current or slowing down your travel speed.
- Porosity: This happens when gas gets trapped in the weld. Make sure your work area is free of drafts and check for leaks in your gas supply.
- Uneven Bead: An uneven weld bead can result from inconsistent travel speed. Practice moving your hand at a steady pace.
Remember, practice makes perfect. Don’t be afraid to make mistakes; each one is a learning opportunity. And soon enough, you’ll be welding like a pro!
So, there you have it, folks! With regular maintenance and a bit of troubleshooting know-how, you can keep your welding gear in great shape and tackle any issues that come your way. Happy welding!
Frequently Asked Questions
What’s The Easiest Type Of Welding To Learn?
MIG welding is the easiest type to learn. It involves a simple process, making it ideal for beginners.
What Is The Best Welder For A Beginner?
The best welder for a beginner is the Hobart Handler 140. It is user-friendly, versatile, and reliable. This MIG welder offers easy setup and smooth operation, perfect for novices.
Is Mig Or Tig Welding Better For Beginners?
MIG welding is better for beginners. It is easier to learn and requires less skill compared to TIG welding.
Should A Beginner Use A Mig Or Arc Welder?
A beginner should use a MIG welder. It is easier to learn and offers more control. MIG welding is perfect for various materials and projects, making it ideal for novices.
Conclusion
Starting your welding journey can be exciting and rewarding. Choose the right tools. Practice regularly. Don’t rush; safety always comes first. Simple projects build confidence. Soon, you will see improvement. Join online communities for tips and support. Remember, every expert started as a beginner.
Keep learning and enjoy the process. Welding opens up many creative possibilities. Happy welding!

