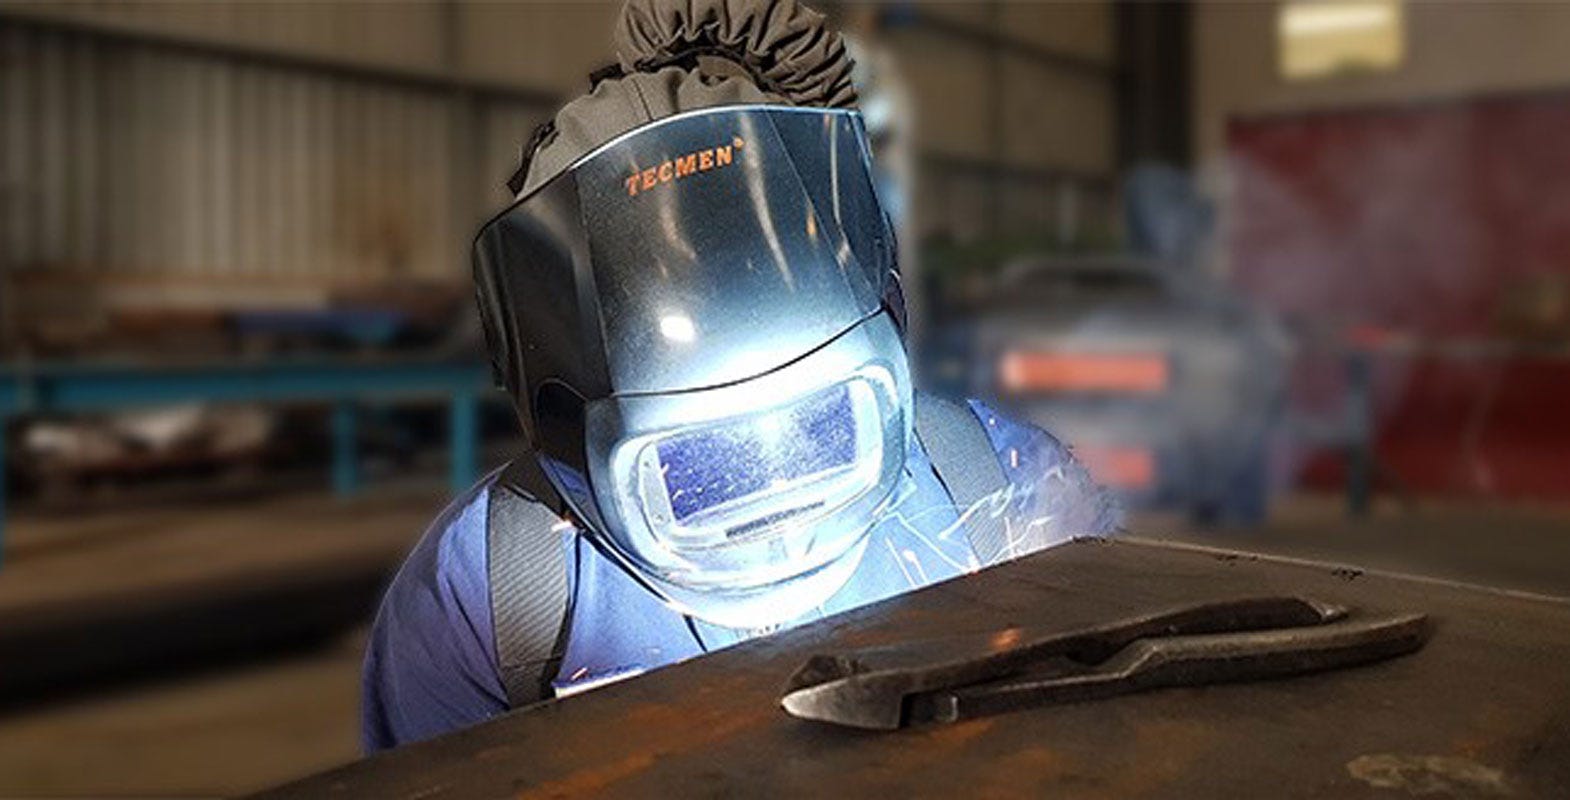
Fixing a welding helmet can seem daunting, but it’s doable. A few common issues often arise with welding helmets.
Welding helmets are crucial for safety and efficiency. A malfunctioning helmet can hinder your work and compromise your safety. Whether it’s a lens issue, a broken strap, or a flickering screen, knowing how to fix these problems is essential. This guide will walk you through common issues and simple fixes.
You’ll learn how to troubleshoot and repair your helmet, ensuring you can work safely and effectively. Ready to get your helmet back in shape? Let’s dive in and tackle those issues head-on!

Credit: www.youtube.com
Common Welding Helmet Issues
Welding helmets are essential tools for any welder, safeguarding their eyes and face from harmful sparks, spatter, and intense light. However, even the best helmets can face issues that disrupt their performance. Understanding these common welding helmet issues can help you fix them promptly and get back to your work without much hassle. Let’s dive into some frequent problems you might encounter and how to address them.
Helmet Not Darkening
One of the most common issues welders face is when their helmet fails to darken. This can be quite frustrating and dangerous. Here are a few reasons why this might happen and what you can do about it:
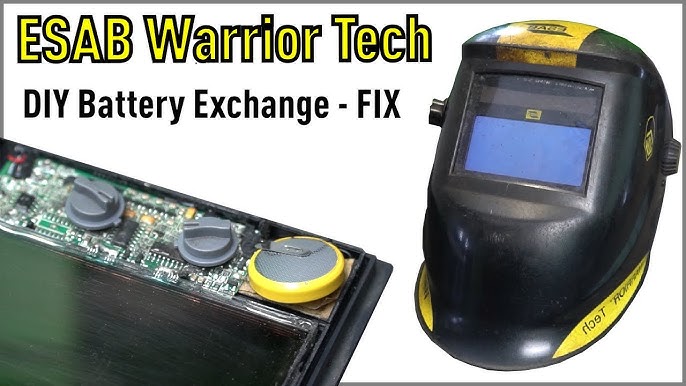
- Battery Problems: Check if the batteries are dead or not properly inserted. Replace them if necessary.
- Sensor Blockage: Dirt or spatter can block the sensors. Clean them gently with a soft cloth.
- Settings: Ensure the sensitivity and delay settings are adjusted correctly. Refer to your helmet’s manual for guidance.
Sometimes, it’s as simple as replacing the batteries or giving the sensors a quick clean. If these steps don’t work, you might need to consult the manufacturer or consider a professional repair.
Lens Not Clear
Another common problem is when the lens of the helmet becomes unclear, making it difficult to see your work. Here are a few possible causes and solutions:
- Dirty Lens: Welding environments can be quite grimy. Regularly clean the lens with a lens cleaner or mild soap and water.
- Scratches: If the lens is scratched, it may need to be replaced. Scratches can obscure your vision and compromise safety.
- Condensation: In humid conditions, condensation can form on the lens. Use anti-fog sprays or wipes to keep it clear.
Maintaining a clear lens is crucial for both precision and safety. Regular upkeep will save you from unnecessary headaches down the line.
In conclusion, knowing how to troubleshoot these common issues can keep your welding helmet in top shape. A bit of maintenance and care goes a long way, ensuring that your gear is always ready when you need it. Remember, safety first!
Tools And Materials Needed
Fixing a welding helmet might seem like a daunting task, but with the right tools and materials, it can be a breeze. Whether you’re a seasoned welder or just starting out, having the right equipment on hand is essential. In this section, we’ll go over the tools and materials needed to get your welding helmet back in top shape.
Basic Tools
First things first, you need some basic tools. These are items you probably already have lying around your workshop. If not, they are easy to find at your local hardware store.
- Screwdrivers: A set of both flathead and Phillips screwdrivers. You’ll need these to open up the helmet and tighten any loose screws.
- Pliers: Handy for gripping and adjusting small parts inside the helmet.
- Wrench: A small adjustable wrench for any bolts that need tightening.
- Multimeter: If your helmet is electronic, a multimeter can help you check the circuits.
- Cleaning Supplies: A microfiber cloth and some mild cleaning solution to clean the lens and other parts.
Replacement Parts
Sometimes, a simple fix requires more than just a few tools. You might need to replace some parts of your welding helmet. Here’s a list of common replacement parts you should consider:
- Lens: The lens can get scratched or damaged over time. A new lens can make a world of difference.
- Headgear: The headgear can wear out or break. Replacing it can make your helmet more comfortable and secure.
- Batteries: If you have an auto-darkening helmet, check the batteries. They might need to be replaced.
- Gaskets and Seals: These keep the helmet airtight and dust-free. Over time, they can wear out and need replacing.
By gathering these tools and replacement parts, you’ll be well-prepared to fix your welding helmet. Remember, a well-maintained helmet not only improves your work but also keeps you safe. So, don’t skimp on the quality of the tools and parts you use. Happy welding!
Safety Precautions
Fixing a welding helmet isn’t just about knowing the tools and techniques; it’s also about staying safe. Welding can be dangerous if you’re not careful. Imagine trying to fix your helmet and ending up in a worse situation because you skipped some safety steps. Let’s dive into the essential safety precautions you need to take.
Protective Gear
First things first, always wear the right protective gear. Just because you’re fixing your helmet doesn’t mean you can skimp on safety. Here’s a quick list of what you need:
- Gloves: Protect your hands from sharp edges and hot parts.
- Safety Glasses: Shield your eyes from any flying debris.
- Long-Sleeved Shirt: Avoid burns and cuts on your arms.
Think about it – would you go swimming without your trunks? Of course not! The same goes for fixing your welding helmet; don’t do it without the proper gear.
Work Environment
Now, let’s talk about your workspace. You need a place that’s safe and free from distractions. Here are some key points:
- Good Lighting: Make sure your area is well-lit. You don’t want to miss a crucial detail.
- Clean Surface: Keep your workspace clean to avoid tripping over tools or other items.
- Ventilation: Ensure there’s good airflow to avoid inhaling fumes or dust.
Picture this: you’re in a cluttered, dimly lit room trying to fix your helmet. One wrong move, and you could end up in a worse situation than before. A clean, well-lit, and ventilated workspace makes all the difference.

Credit: www.euromarc.co.nz
Disassembling The Helmet
Disassembling your welding helmet is the first step in fixing it. This process involves carefully taking apart different components. Doing this allows you to inspect and repair any issues. Let’s start with removing the lens and inspecting internal components.
Removing The Lens
Begin by placing your helmet on a flat surface. Ensure it’s stable to avoid damage. Look for the screws or clips holding the lens in place. Use a screwdriver to remove these screws. Be gentle to prevent stripping the screws.
Next, carefully lift the lens from the helmet. Handle the lens with care to avoid scratches. Place the lens in a safe location. This will prevent it from getting damaged while you work on other parts.
Inspecting Internal Components
With the lens removed, you can now see the internal components. Look closely at the wiring and connections. Check for any loose or damaged wires. Also, inspect the battery if your helmet uses one.
Examine the auto-darkening filter, if present. Ensure it is clean and free of debris. Look at the sensor for any dirt or damage. Cleaning these parts can often solve issues. Use a soft cloth to wipe them gently.
Finally, check the headgear adjustment mechanism. Ensure it moves smoothly without sticking. If it is stiff, apply a small amount of lubricant. This will help the helmet fit comfortably and securely.
Fixing Auto-darkening Issues
Fix welding helmet auto-darkening issues by checking the batteries and sensor settings. Ensure the lens and sensors are clean.
Fixing auto-darkening issues in your welding helmet is crucial. These issues can affect your work quality and safety. Auto-darkening helmets protect your eyes from harmful rays. If the auto-darkening feature fails, it can be dangerous. Let’s discuss how to fix these issues.Testing The Sensors
The sensors play a key role in the auto-darkening function. To test them, place your helmet in front of a bright light. Observe if the lens darkens. If it does not, there may be a problem with the sensors. Clean the sensors with a soft cloth. Dirt or debris can block their function. If cleaning does not help, you might need to replace the sensors.Replacing The Battery
A dead battery can cause auto-darkening issues. Check the battery compartment. Ensure the battery is properly installed. If the battery is old, replace it with a new one. Use the correct type of battery. Refer to the helmet’s manual for guidance. After replacing the battery, test the helmet again. Make sure the auto-darkening feature works properly.Cleaning And Maintenance
Regular cleaning and maintenance keep your welding helmet in great condition. It ensures the helmet functions well and protects you during work. This guide will help you clean and maintain your welding helmet properly.
Cleaning The Lens
The lens is one of the most important parts of a welding helmet. Dirt and debris can obstruct your view, making it difficult to weld accurately. Use a soft cloth to clean the lens. Avoid using abrasive materials which can scratch the lens. Mild soap and water can help remove any stubborn dirt. Dry the lens with a lint-free cloth. This keeps the lens clear and ready for your next project.
Lubricating Moving Parts
Welding helmets have several moving parts. These parts need regular lubrication to function smoothly. Use a light machine oil for this task. Apply the oil to hinges and any other moving parts. This reduces friction and wear. Wipe off any excess oil with a clean cloth. Regular lubrication helps extend the lifespan of your helmet.
Reassembling The Helmet
Reassembling your welding helmet correctly ensures safety and efficiency. After disassembling and cleaning, the next steps are crucial. Follow these steps to get your helmet back in working order.
Reinstalling The Lens
The lens is the most important part of your helmet. First, hold the lens carefully to avoid fingerprints. Place it back into its frame. Ensure it sits evenly without gaps. If there are clips, snap them gently into place. Double-check that the lens is secure and clean.
Securing All Parts
Next, reattach any padding or cushioning inside the helmet. These parts keep you comfortable. Make sure they are positioned correctly. Tighten any screws or fasteners that hold the helmet together. Use a screwdriver if needed. Check that all parts are firm and secure. Finally, adjust the headgear to fit your head comfortably. Ensure the helmet stays on without wobbling.

Credit: www.euromarc.co.nz
Testing The Helmet
Before diving into the complex fixes, we need to ensure that the welding helmet is working correctly. Testing the helmet is crucial as it ensures safety and comfort while welding. Here, we will walk you through some simple steps to test your welding helmet effectively.
Performing A Darkness Test
One of the simplest yet most important tests is the darkness test. This ensures that your helmet can effectively protect your eyes from the bright welding light.
- First, wear your welding helmet.
- Next, look at a bright light source, such as the sun or a light bulb.
- Check if the lens darkens automatically. If it doesn’t, there may be an issue with the auto-darkening feature.
Tip: Use a lighter or a small torch to see if the lens reacts quickly. It’s a handy trick that many welders use.
Ensuring Comfort And Fit
Welding can be a long and tiring process. A comfortable and well-fitting helmet makes a world of difference.
Here’s how you can ensure your helmet fits well:
- Adjust the headband: Make sure the headband is snug but not too tight. It should sit comfortably on your head without causing any discomfort.
- Check the weight: A helmet that is too heavy can cause neck strain. If it feels too heavy, consider adjusting the straps or adding padding.
- Try different sizes: Helmets come in various sizes. If your helmet feels too tight or loose, it might be the wrong size for you.
Remember, a well-fitting helmet not only provides safety but also enhances your welding performance.
Frequently Asked Questions
Why Is My Welding Helmet Not Working?
Check the battery or power source. Inspect the lens and sensors for damage or dirt. Adjust the sensitivity and delay settings. Ensure the helmet is compatible with your welding type. Verify if the helmet meets the required standards.
How To Recharge A Welding Helmet?
To recharge a solar-powered welding helmet, place it under direct sunlight for a few hours. For battery-powered helmets, replace or recharge the batteries as per the manufacturer’s instructions. Always refer to the user manual for specific guidance.
How Do I Know If My Welding Helmet Is Bad?
Check for cracks, a non-functioning auto-darkening filter, inconsistent shading, or a loose fit. Ensure visibility and comfort.
How To Replace Battery In Auto Darkening Welding Helmet?
To replace the battery in an auto-darkening welding helmet, locate the battery compartment. Open it using a screwdriver. Remove the old batteries and insert new ones, ensuring correct polarity. Close the compartment securely.
Conclusion
Fixing a welding helmet is simpler than you might think. Follow these steps, and your helmet will work well again. Ensure all parts fit correctly. Check the lens for damage. Clean it regularly to maintain clarity. Replace any broken components promptly.
With these tips, your welding projects will be safer and more efficient. Remember, a well-maintained helmet protects your eyes and face. Stay safe and keep welding with confidence.

