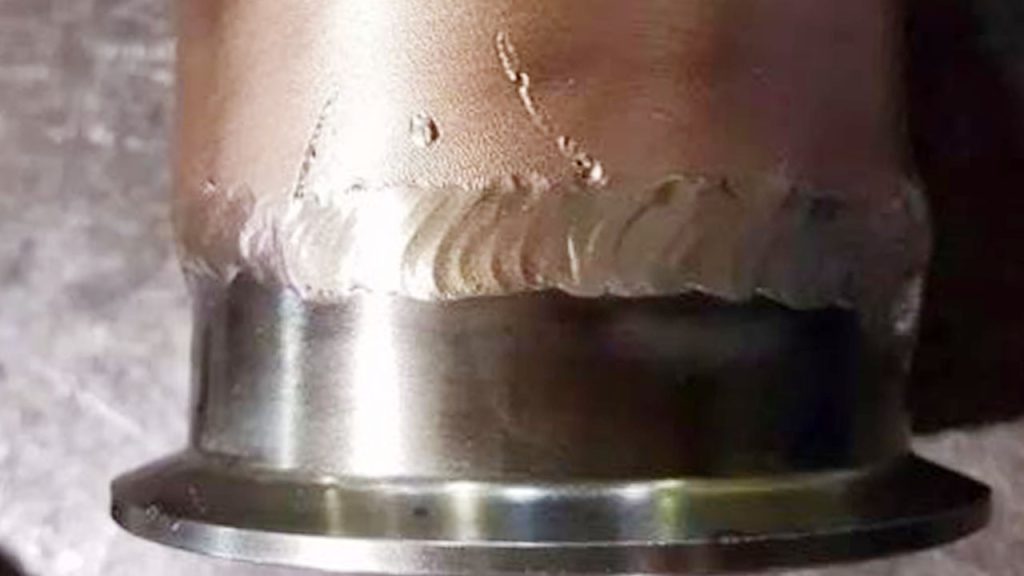
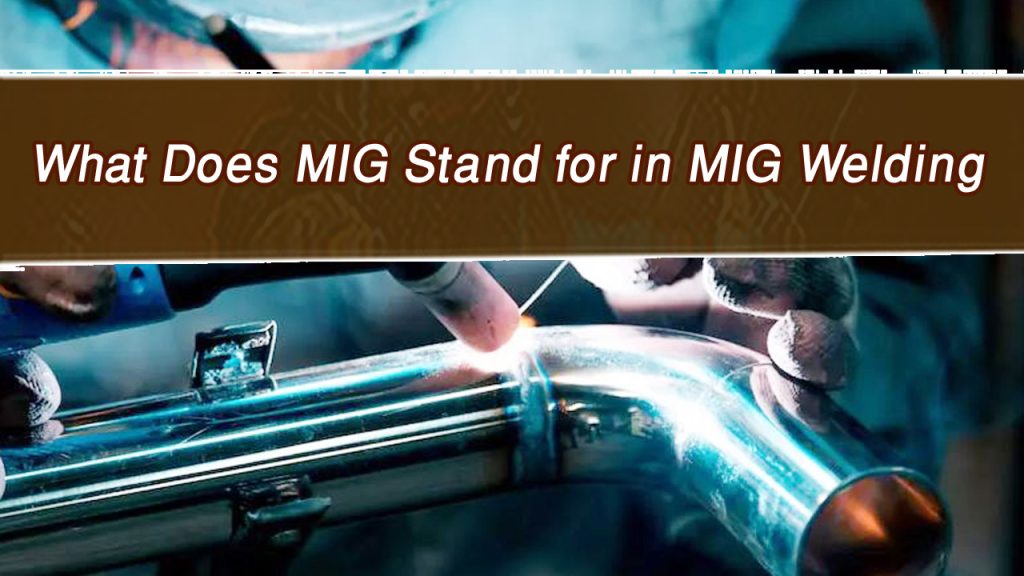
Soldering copper to stainless steel might sound a bit tricky at first, but trust me, it’s absolutely doable with the right tools and techniques. Whether you’re tackling a plumbing repair or working on a creative project, this process allows you to bond these two metals securely and efficiently.

Image by learntomoonshine
When I first learned how to solder copper to stainless steel, I realized it’s all about preparation and using the right materials. In this article, I’ll guide you through the steps, tips, and tricks to make the process straightforward. By the end, you’ll feel confident enough to try it yourself.
Why Solder Copper to Stainless Steel?
You might wonder why anyone would need to solder copper to stainless steel in the first place. Both metals have unique properties that make them ideal for certain applications.
- Copper is an excellent conductor of heat and electricity, making it popular for plumbing, electrical work, and artistic creations.
- Stainless Steel is highly durable, corrosion-resistant, and commonly used in industrial and household applications.
By joining these two materials, you can combine their strengths, such as copper’s conductivity with stainless steel’s durability, for versatile and robust solutions.
Tools and Materials Needed
Before we jump into the process, let’s gather everything you’ll need. Having the right tools and materials is key to making the job easier.
Tools
- Propane torch or soldering iron (depending on the project’s size)
- Wire brush or abrasive pad
- Heat-resistant gloves
- Safety goggles
- Flux brush
Materials
- Copper and stainless steel pieces
- Lead-free solder (silver solder works well)
- Flux specifically designed for stainless steel
- Sandpaper (fine grit)
- Cleaning solution (isopropyl alcohol or similar)
Preparing the Surfaces
Preparation is probably the most crucial step in this process. Copper and stainless steel both need to be clean and free from dirt, grease, or oxidation to ensure a strong bond.
Cleaning Copper
- Use fine-grit sandpaper or a wire brush to remove any oxidation or dirt from the copper surface.
- Wipe the copper with isopropyl alcohol to remove any remaining residue.
Cleaning Stainless Steel
- Stainless steel can develop a thin oxide layer, so use an abrasive pad or wire brush to clean the surface.
- Apply a cleaning solution to remove grease or oils.
Taking the time to clean both metals thoroughly will significantly improve the soldering results.
Applying the Flux
Flux is a chemical agent that helps prevent oxidation during the soldering process and ensures the solder flows evenly across the surfaces.
- Choose a flux specifically designed for stainless steel, as it requires a stronger formula.
- Apply a thin, even layer of flux to both the copper and stainless steel surfaces using a flux brush.
Make sure to cover all areas where the solder will be applied. Proper application of flux is critical to achieving a strong and clean bond.
Heating the Metals
Now comes the exciting part: heating the metals. The goal is to heat the surfaces enough for the solder to flow and bond, but not so much that you damage the metals or burn the flux.
- Use a propane torch for larger projects or a soldering iron for smaller ones.
- Heat the stainless steel first since it requires more heat than copper. Keep the flame moving to avoid overheating a single spot.
- Once the stainless steel is hot, move the flame to the copper to ensure both surfaces reach the right temperature.
Applying the Solder
With the metals heated and flux in place, it’s time to apply the solder.
- Touch the solder to the joint where the copper and stainless steel meet. The heat from the metals will melt the solder, allowing it to flow.
- Ensure the solder spreads evenly across the joint, covering both surfaces.
- Remove the heat once the solder has flowed properly and formed a secure bond.
Allow the joint to cool naturally. Avoid using water or any other cooling method, as this can weaken the bond.
Testing the Bond
After the solder has cooled, inspect the joint to ensure it’s secure. A proper solder joint should appear smooth and shiny without gaps or cracks.
Gently test the bond by applying a small amount of pressure to ensure the metals are firmly attached. If the joint feels weak or appears incomplete, you may need to reapply heat and solder.
Tips for Successful Soldering
- Work in a well-ventilated area to avoid inhaling fumes from the flux and solder.
- Always wear safety gear, including heat-resistant gloves and goggles.
- Use lead-free solder for projects involving drinking water or food preparation to ensure safety.
- Take your time during the cleaning and flux application stages. Rushing can lead to weak bonds.
Common Mistakes to Avoid
Here are a few pitfalls to watch out for:
- Skipping Cleaning: Dirty surfaces will prevent the solder from bonding properly.
- Overheating: Too much heat can damage the metals or burn the flux.
- Using the Wrong Flux: Stainless steel requires a specific type of flux, so double-check your materials.
Comparing Copper and Stainless Steel Properties
| Property | Copper | Stainless Steel |
|---|---|---|
| Conductivity | Excellent electrical and thermal | Moderate electrical and thermal |
| Corrosion Resistance | Moderate | High |
| Strength | Soft and malleable | Strong and durable |
| Soldering Difficulty | Easy | Requires specialized techniques |
Conclusion
Soldering copper to stainless steel might seem challenging at first, but with the right preparation and tools, it’s entirely manageable. The key is to clean the surfaces thoroughly, use the correct flux, and apply heat evenly. Once you’ve mastered the technique, you’ll have the ability to create strong, durable bonds for a variety of applications.
If you’re tackling a home repair or working on a creative project, knowing how to solder these two metals together opens up a world of possibilities. Take your time, follow the steps carefully, and enjoy the process.
FAQs
Can you use regular flux to solder stainless steel?
No, you need a flux specifically designed for stainless steel because it requires a stronger chemical formulation.
What type of solder is best for copper to stainless steel?
Silver solder or lead-free solder works best for this application, as it provides a strong and durable bond.
Why is stainless steel harder to solder than copper?
Stainless steel forms a protective oxide layer, which makes it more challenging to bond without the proper flux and preparation.
Can I use a soldering iron for large projects?
A soldering iron works for small joints, but for larger projects, a propane torch is more effective.
How do I know if the solder joint is strong enough?
Inspect the joint for a smooth, shiny appearance and apply gentle pressure to test the bond. A strong joint won’t show gaps or cracks.

Endow Russel the owner chief editor of giftendow.com . I am a mechanical engineer and assign to an local firm with much experience in welding and industrial equipment.

