When I first decided to try my hand at MIG welding, I remember being both excited and a little overwhelmed. The idea of turning a pile of metal into a solid, professional-looking project was thrilling, but I had no clue where to start. Over time, I figured it out, and now, MIG welding has become one of my favorite ways to work with metal.
If you’re new to welding or considering giving MIG welding a try, this guide is for you. I’ll walk you through the entire process, from setting up your machine to creating smooth, strong welds. Trust me, it’s not as complicated as it seems once you break it down step by step.

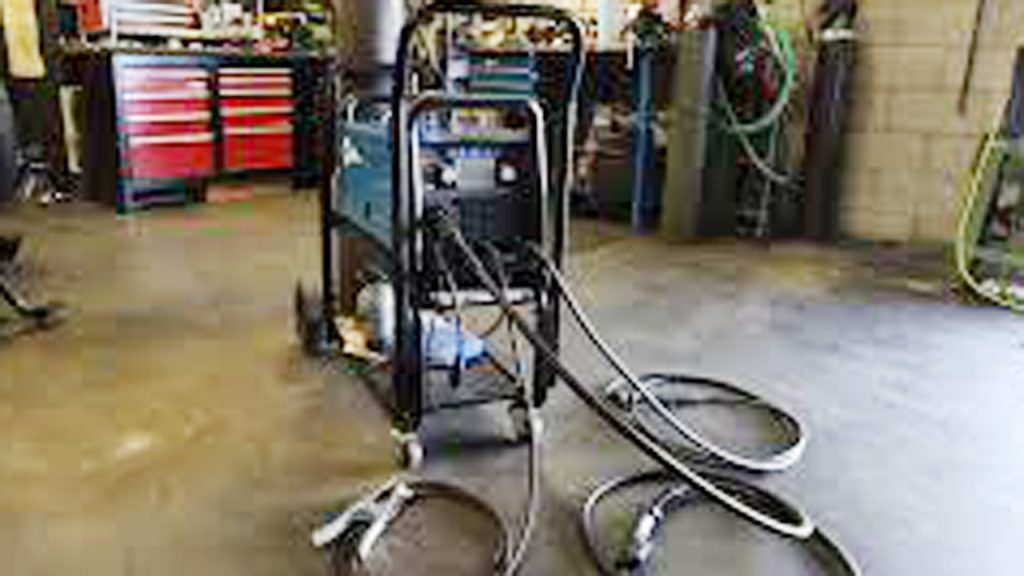
Image by hotrod
What Is MIG Welding?
Before diving into the setup, let’s talk about what MIG welding is. MIG stands for Metal Inert Gas welding, though it’s also referred to as GMAW (Gas Metal Arc Welding). It’s one of the easiest and most versatile welding methods out there.
With MIG welding, a spool of wire acts as both the electrode and the filler material. A shielding gas (usually a mix of argon and carbon dioxide) protects the weld from contamination, ensuring a clean, strong joint. The process is straightforward, making it ideal for beginners and professionals alike.
Why Choose MIG Welding?
One of the reasons I recommend MIG welding to beginners is because it’s user-friendly and highly effective. Here are a few benefits that make it stand out:
- Ease of Use: Even if you’ve never welded before, you can start MIG welding with just a little practice.
- Versatility: MIG welding works on a variety of metals, including steel, aluminum, and stainless steel.
- Speed: It’s a quick process, perfect for large projects.
- Clean Welds: The shielding gas minimizes slag, so there’s less cleanup afterward.
How to Set Up a MIG Welder
Setting up your MIG welder properly is the first step to success. Here’s how I do it:
Gather Your Equipment
Before you start, make sure you have everything you need. Here’s a basic checklist:
- MIG Welder: Choose one that matches your project needs.
- Shielding Gas Cylinder: Usually a mix of argon and CO2.
- Welding Wire: Match the wire type and diameter to your material.
- Power Source: Ensure your outlet can handle the welder’s voltage.
- Protective Gear: Helmet, gloves, jacket, and safety glasses are essential.
Connect the Gas Cylinder
Attach the gas cylinder to your MIG welder using the provided regulator. Make sure the connections are tight but not over-tightened. Open the valve slowly to check for leaks. If you hear a hissing sound, tighten the fittings or use a soapy solution to locate the leak.
Install the Wire Spool
Load the welding wire into the welder. Open the spool compartment, and ensure the wire feeds smoothly into the drive rollers. Adjust the tension to prevent slipping or jamming.
Set Up the Ground Clamp
Attach the ground clamp to your workpiece or welding table. A good electrical connection is crucial for stable welding performance.
Adjust the Welder Settings
This part can seem tricky at first, but most MIG welders have a chart to help you choose the correct settings based on your material thickness and wire type. Adjust:
- Voltage: Controls the heat of the arc.
- Wire Feed Speed: Determines how fast the wire feeds into the weld pool.
- Gas Flow Rate: Typically set around 20-25 cubic feet per hour (CFH).
How to Use a MIG Welder
Once your welder is set up, it’s time to get to work. Here’s how to weld like a pro:
Prepare Your Work Area
Cleanliness is key when welding. Make sure your workpiece is free of rust, paint, oil, or dirt. Use a wire brush or grinder to clean the surface.
Practice Your Technique
Before working on your project, practice on scrap metal. Focus on maintaining a steady hand and consistent movement.
- Hold the torch at a 15-20 degree angle.
- Keep the wire tip about ¼ inch from the metal surface.
- Move at a steady speed to avoid overheating or creating weak welds.
Strike the Arc
To start welding, pull the trigger to feed the wire and create an arc. The wire will melt into the weld pool, forming a bond between the metals. Maintain a steady motion to produce a smooth, even bead.
Monitor Your Weld
Pay close attention to the weld pool as you work. A good weld should have a consistent width and penetration. Adjust your speed or settings if needed.
Finish and Inspect
Once you’ve completed the weld, release the trigger and let the bead cool. Inspect your work for any gaps, cracks, or inconsistencies. If needed, go back and fix any weak spots.
Troubleshooting Common MIG Welding Issues
MIG welding is generally straightforward, but issues can still arise. Here’s how to handle some common problems:
- Spatter: Reduce your voltage or wire speed to minimize spatter.
- Porosity: Check your gas flow and ensure there are no drafts in your work area.
- Weak Welds: Double-check your settings and clean the workpiece thoroughly.
- Wire Feed Issues: Adjust the tension or replace worn-out rollers.
Safety Tips for MIG Welding
Welding is exciting, but safety should always come first. Here are some important precautions to keep in mind:
- Always wear a welding helmet with the appropriate shade level.
- Protect your skin with flame-resistant gloves and a jacket.
- Work in a well-ventilated area to avoid inhaling fumes.
- Keep a fire extinguisher nearby in case of emergencies.
Benefits of Learning MIG Welding
From my experience, learning to use a MIG welder opens up endless possibilities. Whether you’re building furniture, repairing equipment, or tackling creative projects, MIG welding gives you the skills to bring your ideas to life. Plus, it’s a valuable trade skill that can lead to rewarding career opportunities.
Conclusion
Setting up and using a MIG welder might seem intimidating at first, but with the right guidance, it’s an achievable and highly rewarding skill. By following the steps outlined in this guide, you’ll be able to create clean, strong welds and take on a variety of projects with confidence.
Whether you’re a DIY enthusiast or looking to start a welding career, mastering MIG welding is a fantastic place to begin. So grab your gear, take your time, and enjoy the process—you’ll be amazed at what you can create!
FAQs
What is the best shielding gas for MIG welding?
A mix of 75% argon and 25% CO2 is ideal for most MIG welding projects.
Can I MIG weld without gas?
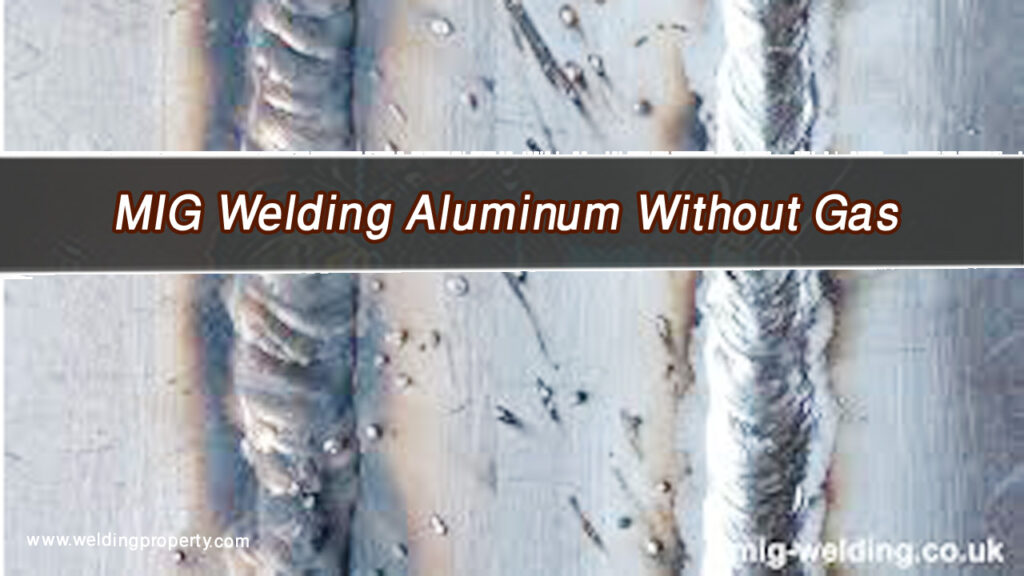
Yes, with flux-core wire. However, gas-shielded MIG welding produces cleaner results.
How do I know if my settings are correct?
Refer to the welder’s chart and adjust based on the material thickness and wire type. Practice on scrap metal to fine-tune the settings.
Why is my wire not feeding properly?
Check the tension on the drive rollers and ensure the wire spool is installed correctly.
How do I clean my MIG welder?
Regularly clean the nozzle, contact tip, and wire feed system to prevent clogs and ensure smooth operation.

Endow Russel the owner chief editor of giftendow.com . I am a mechanical engineer and assign to an local firm with much experience in welding and industrial equipment.

