Welding is one of those skills where every little detail matters. One of the most fundamental parts of welding is the welding bead. Whether you’re just starting out or you’ve been at it for a while, understanding what a welding bead is and the types you can create is essential to producing strong, clean welds.
When I first started welding, I didn’t pay much attention to the type of bead I was making. I just wanted the pieces to stick together! Over time, though, I realized that the bead style can greatly affect the strength, appearance, and quality of a weld. Let’s break down what a welding bead is and explore the different types you can use to take your welding to the next level.

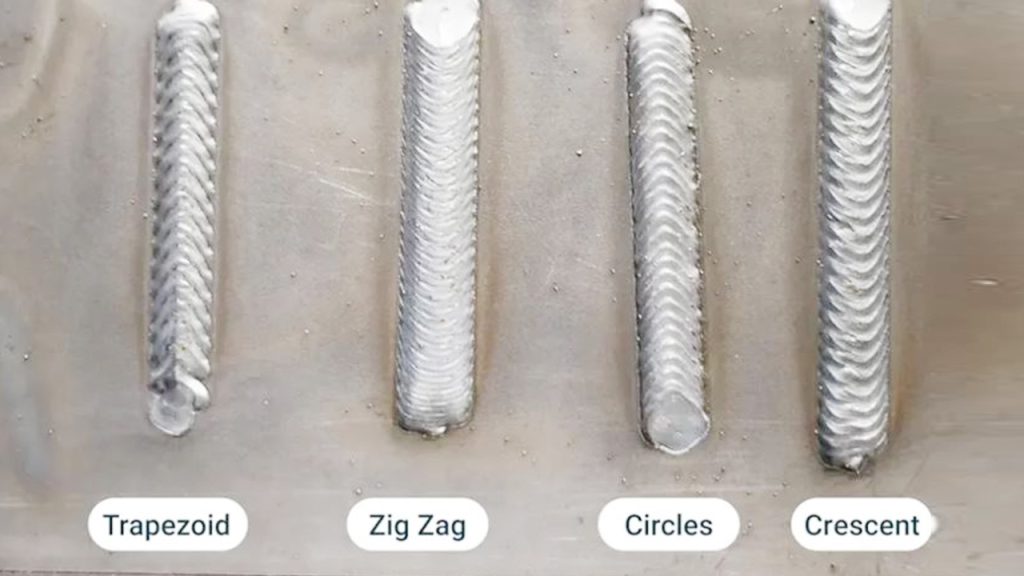
Image by mechdaily
What Is a Welding Bead?
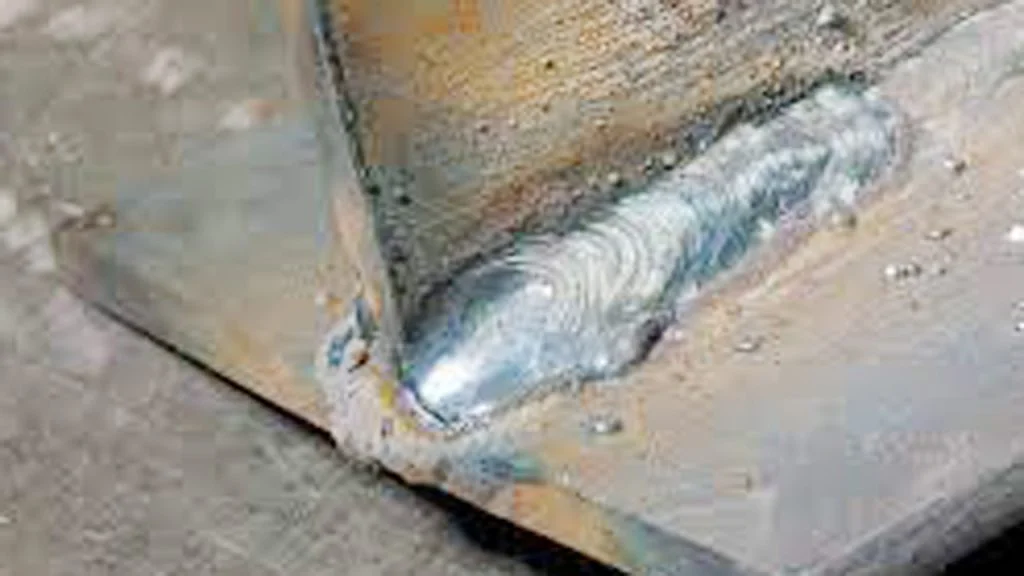
Simply put, a welding bead is the line of melted filler metal deposited on a joint during welding. It’s what holds the pieces of metal together. Think of it as the trail you leave behind when you run your welding torch or electrode along the joint.
The quality and appearance of the bead tell a lot about your welding skills. A smooth, even bead means proper technique and settings, while a messy bead might indicate issues like incorrect speed, heat, or arc length.
Why Is the Welding Bead Important?
A welding bead isn’t just about looks; it plays a huge role in the strength and integrity of your weld. If the bead isn’t done correctly, the weld might lack penetration, leading to weak joints that can fail under stress.
A well-formed welding bead ensures:
- Proper Fusion: Strong bonding between the base metals.
- Uniform Strength: Even distribution of stress along the joint.
- Aesthetic Appeal: Clean and professional-looking welds.
Types of Welding Beads
Over time, I’ve learned that different welding projects call for different types of beads. Choosing the right one depends on factors like the material, joint design, and welding position. Here’s a closer look at the most common types of welding beads:
Stringer Bead
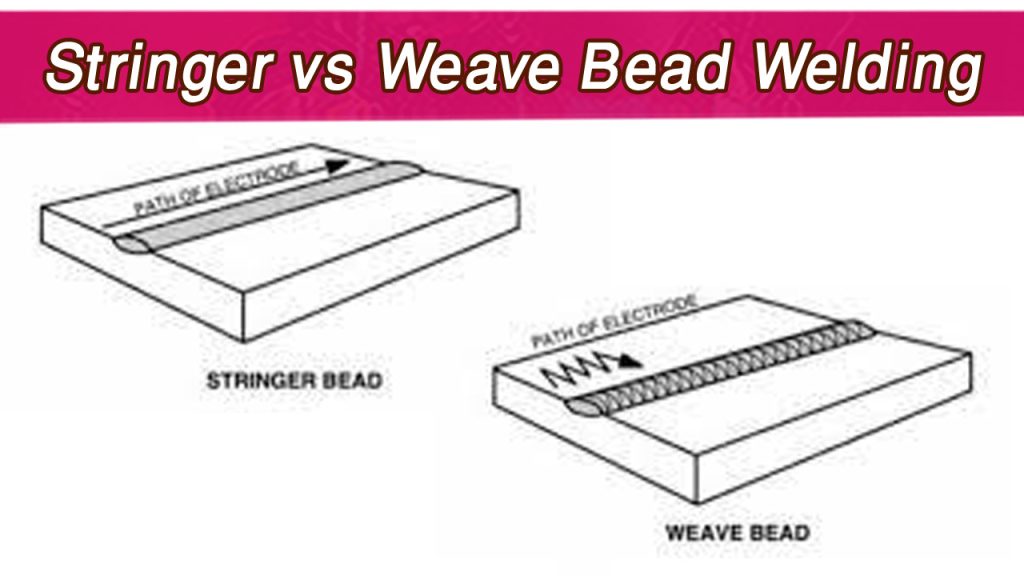
A stringer bead is the simplest and most basic type of welding bead. It’s a straight line created when you move your electrode or torch steadily along the joint without any side-to-side motion.
When to Use It:
- For thin materials or small welds where minimal heat input is required.
- When precision and a clean appearance are priorities.
Tips for a Good Stringer Bead:
- Maintain a steady hand and consistent speed.
- Keep the arc length short to focus the heat on the joint.
- Use lower heat settings to avoid burning through thin materials.
Weave Bead
A weave bead is created by moving the electrode or torch side to side in a zigzag or weaving motion. This type of bead covers a wider area and is often used for filling gaps or building up weld thickness.
When to Use It:
- For welding thick materials or wide joints.
- When a stronger weld is needed, such as in structural applications.
Tips for a Good Weave Bead:
- Keep the weaving motion consistent to avoid uneven bead width.
- Don’t overheat the material; pause briefly at the edges if needed.
- Adjust your heat settings based on the material thickness.
Stacked Bead
Stacked beads, also called “stacked dimes” in TIG welding, are rows of overlapping, round welds. This style is common in TIG and some MIG applications and is known for its neat, professional appearance.
When to Use It:
- For projects requiring high precision, like stainless steel or aluminum welding.
- When appearance is as important as strength.
Tips for a Good Stacked Bead:
- Use a consistent rhythm and timing for overlapping the welds.
- Keep your torch angle steady to ensure even stacking.
- Practice patience—stacked beads take time to perfect.
Multi-Pass Bead
A multi-pass bead involves layering several beads to build up thickness or fill a joint. This method is common in heavy-duty applications where a single pass isn’t enough.
When to Use It:
- For thick joints or materials where deep penetration is needed.
- When filling large gaps in a joint.
Tips for a Good Multi-Pass Bead:
- Clean each pass before starting the next to remove slag or impurities.
- Alternate the direction of each pass to distribute heat evenly.
- Use the appropriate welding process for the material and joint type.
Whip and Pause Bead
The whip and pause technique involves moving the electrode forward (whip) and then pausing briefly to allow the molten metal to fill in. This creates a unique bead pattern and is often used in stick welding.
When to Use It:
- For vertical or overhead welding positions.
- When welding materials that are prone to overheating.
Tips for a Good Whip and Pause Bead:
- Keep the pauses consistent to create a uniform bead.
- Use the right electrode type for the material and position.
- Practice on scrap metal to get the timing right.
Factors That Affect Welding Bead Quality
Getting a perfect welding bead isn’t just about technique—it’s also influenced by several external factors. Here are some things to keep in mind:
Heat Settings
Too much heat can cause excessive spatter, burn-through, or a messy bead, while too little heat can result in weak welds. Adjust the amperage and voltage based on the material and joint type.
Speed
Moving too quickly can lead to incomplete fusion, while moving too slowly can cause overheating or excessive buildup. Finding the right balance is key.
Electrode or Wire Type
Different electrodes and filler wires are suited for specific materials and welding processes. Make sure you’re using the right one for your project.
Joint Preparation
Clean and properly prepared joints make a huge difference in bead quality. Remove rust, dirt, and oil, and bevel the edges if needed.
How to Improve Your Welding Bead
Improving your welding bead takes practice, but a few tips can speed up the process:
- Practice Consistency: Keep your hand steady and your movements smooth.
- Experiment with Settings: Don’t be afraid to adjust your machine settings to see what works best.
- Learn from Mistakes: Every less-than-perfect bead is a learning opportunity.
- Seek Feedback: If possible, ask an experienced welder to evaluate your work and offer tips.
Conclusion
Understanding welding beads and their types is a crucial step in becoming a skilled welder. Whether you’re laying down a simple stringer bead or mastering the art of stacked dimes, each type has its purpose and unique challenges.
The more you practice and experiment, the better you’ll get at choosing and creating the right bead for your project. Remember, every weld you make adds to your experience and skillset. So don’t get discouraged—keep learning, keep practicing, and enjoy the process of becoming a better welder!
FAQs
What is the most common type of welding bead?
The stringer bead is the most common type due to its simplicity and versatility.
Why does my welding bead look uneven?
Uneven beads can result from inconsistent speed, incorrect heat settings, or poor technique.
Can I use a weave bead for thin materials?
It’s not recommended, as the wider heat distribution may burn through thinner materials.
What’s the best way to practice stacked beads?
Start with TIG welding on a flat surface, and focus on maintaining consistent timing and motion.
How do I fix a weak welding bead?
Check your heat settings, improve joint preparation, and ensure proper technique for better penetration and strength.

Endow Russel the owner chief editor of giftendow.com . I am a mechanical engineer and assign to an local firm with much experience in welding and industrial equipment.

